Family Christmas Session With the Southers

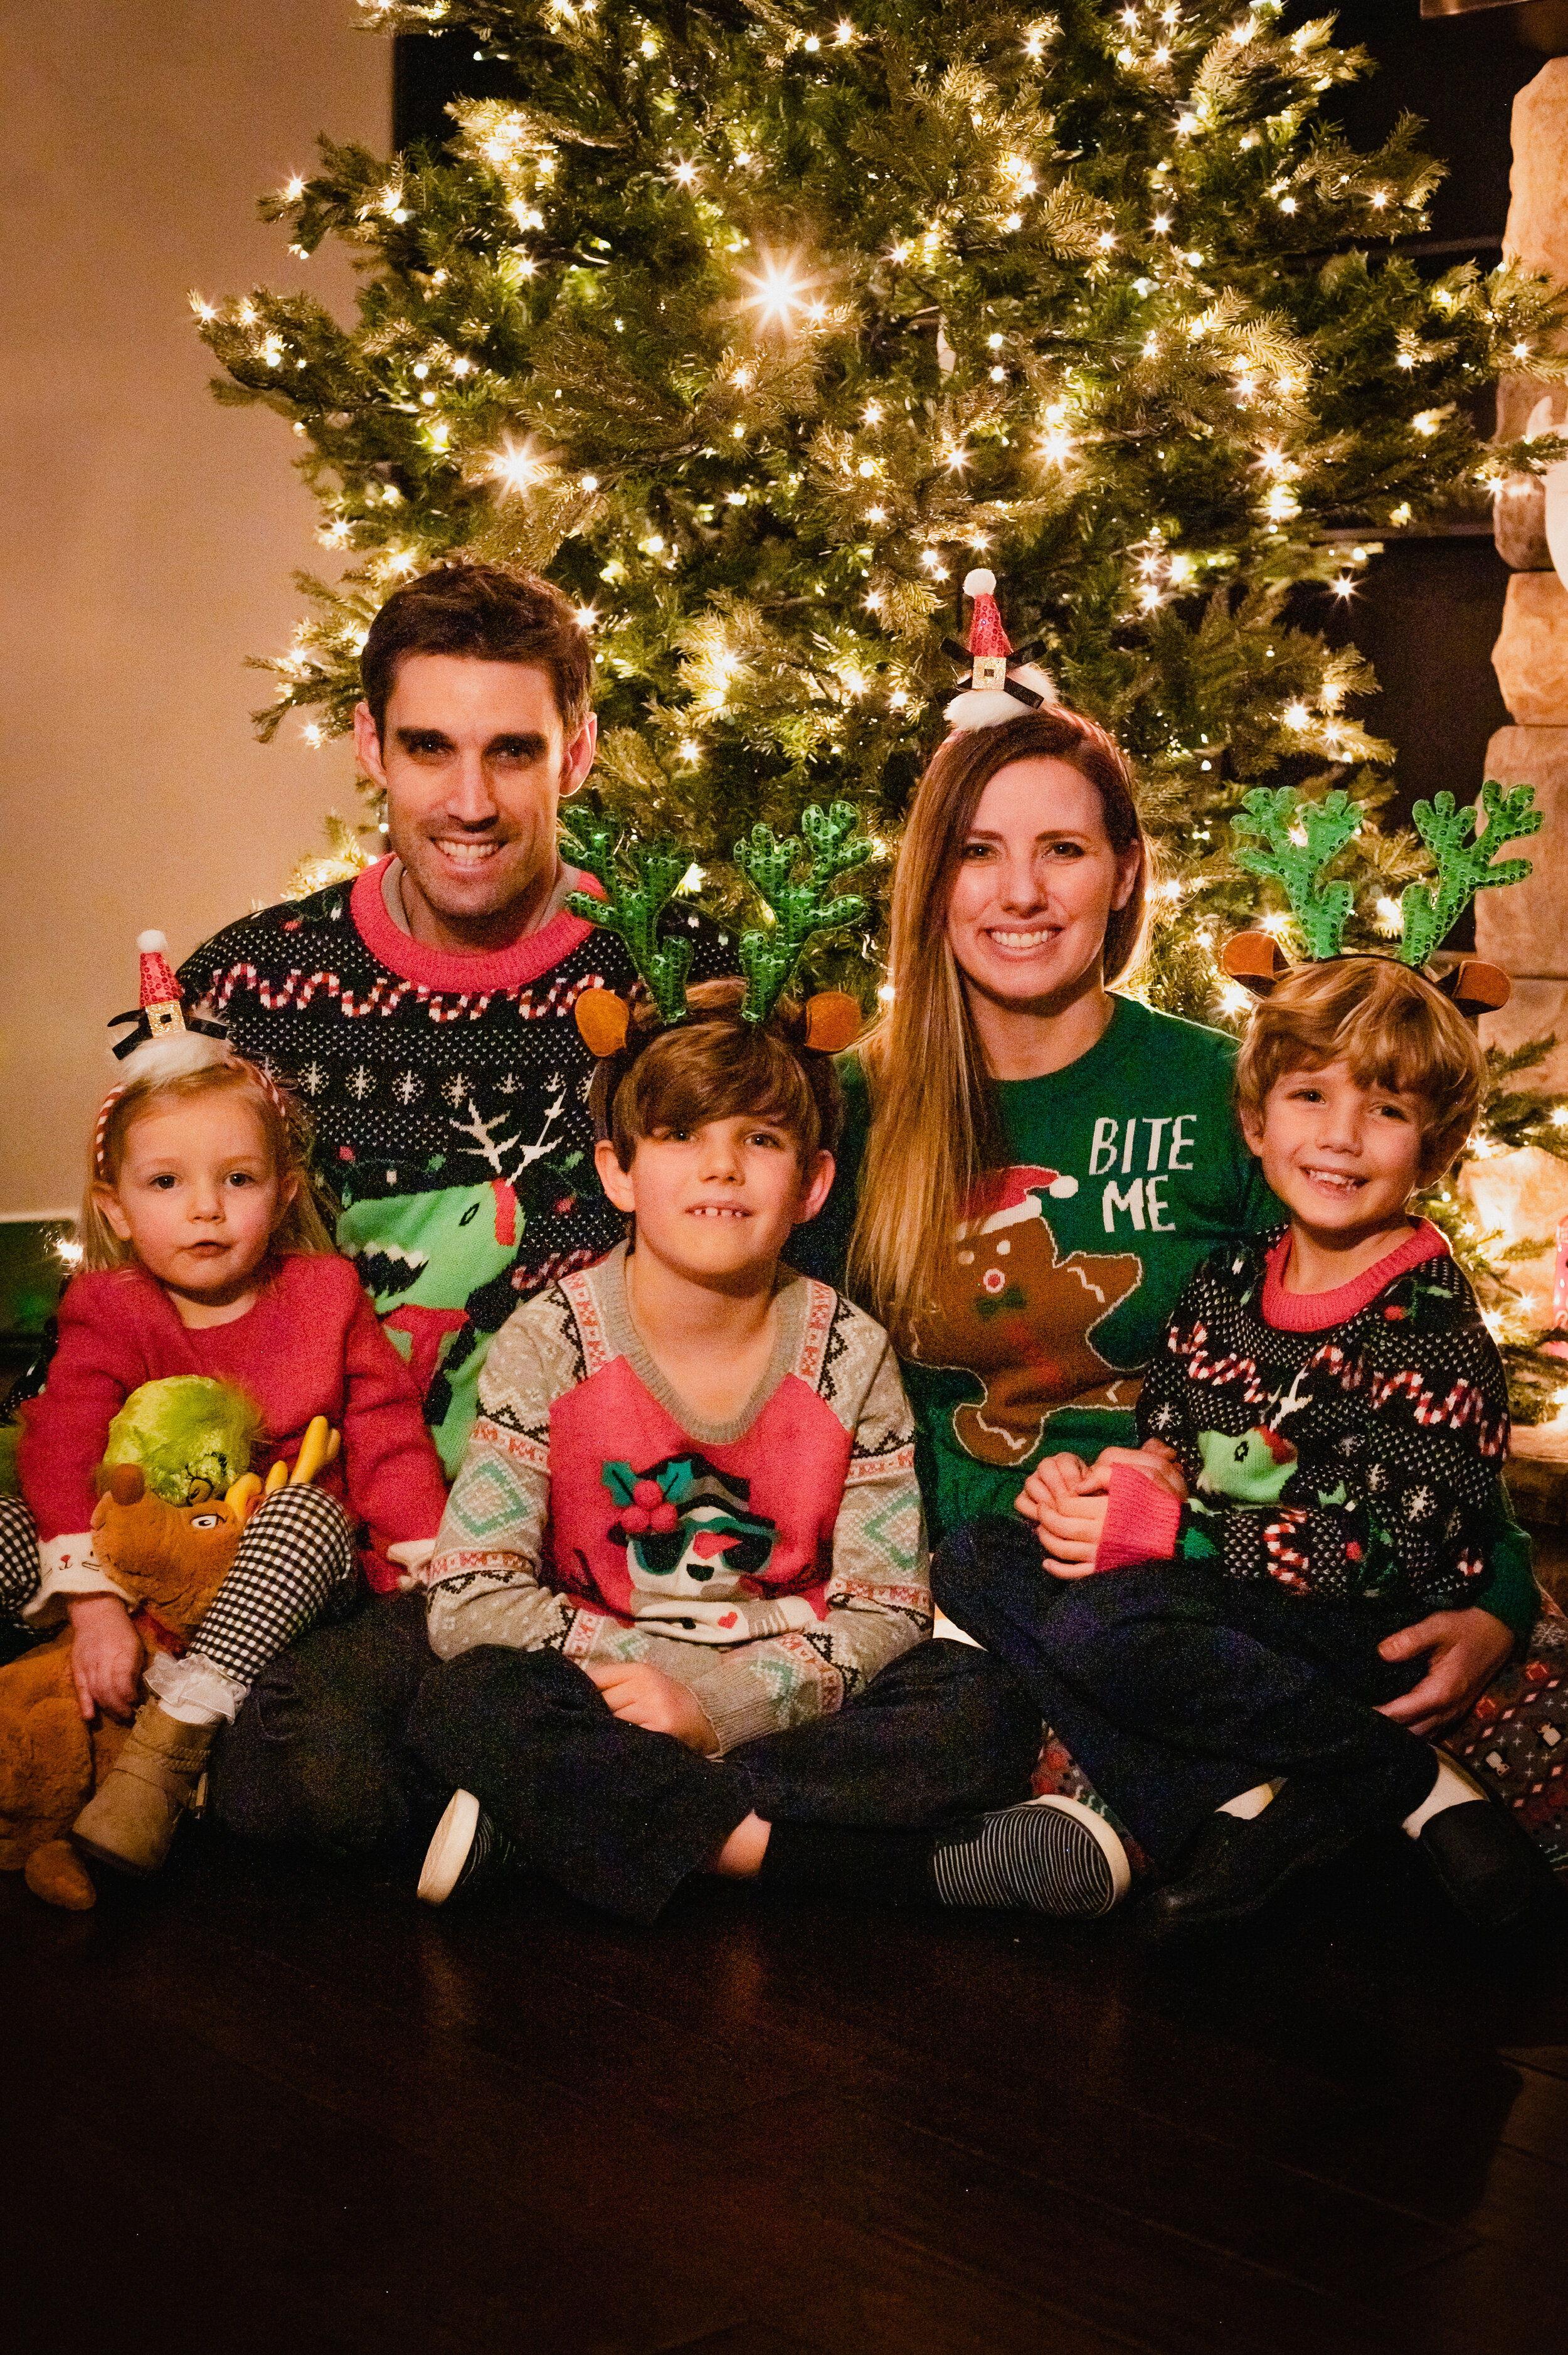
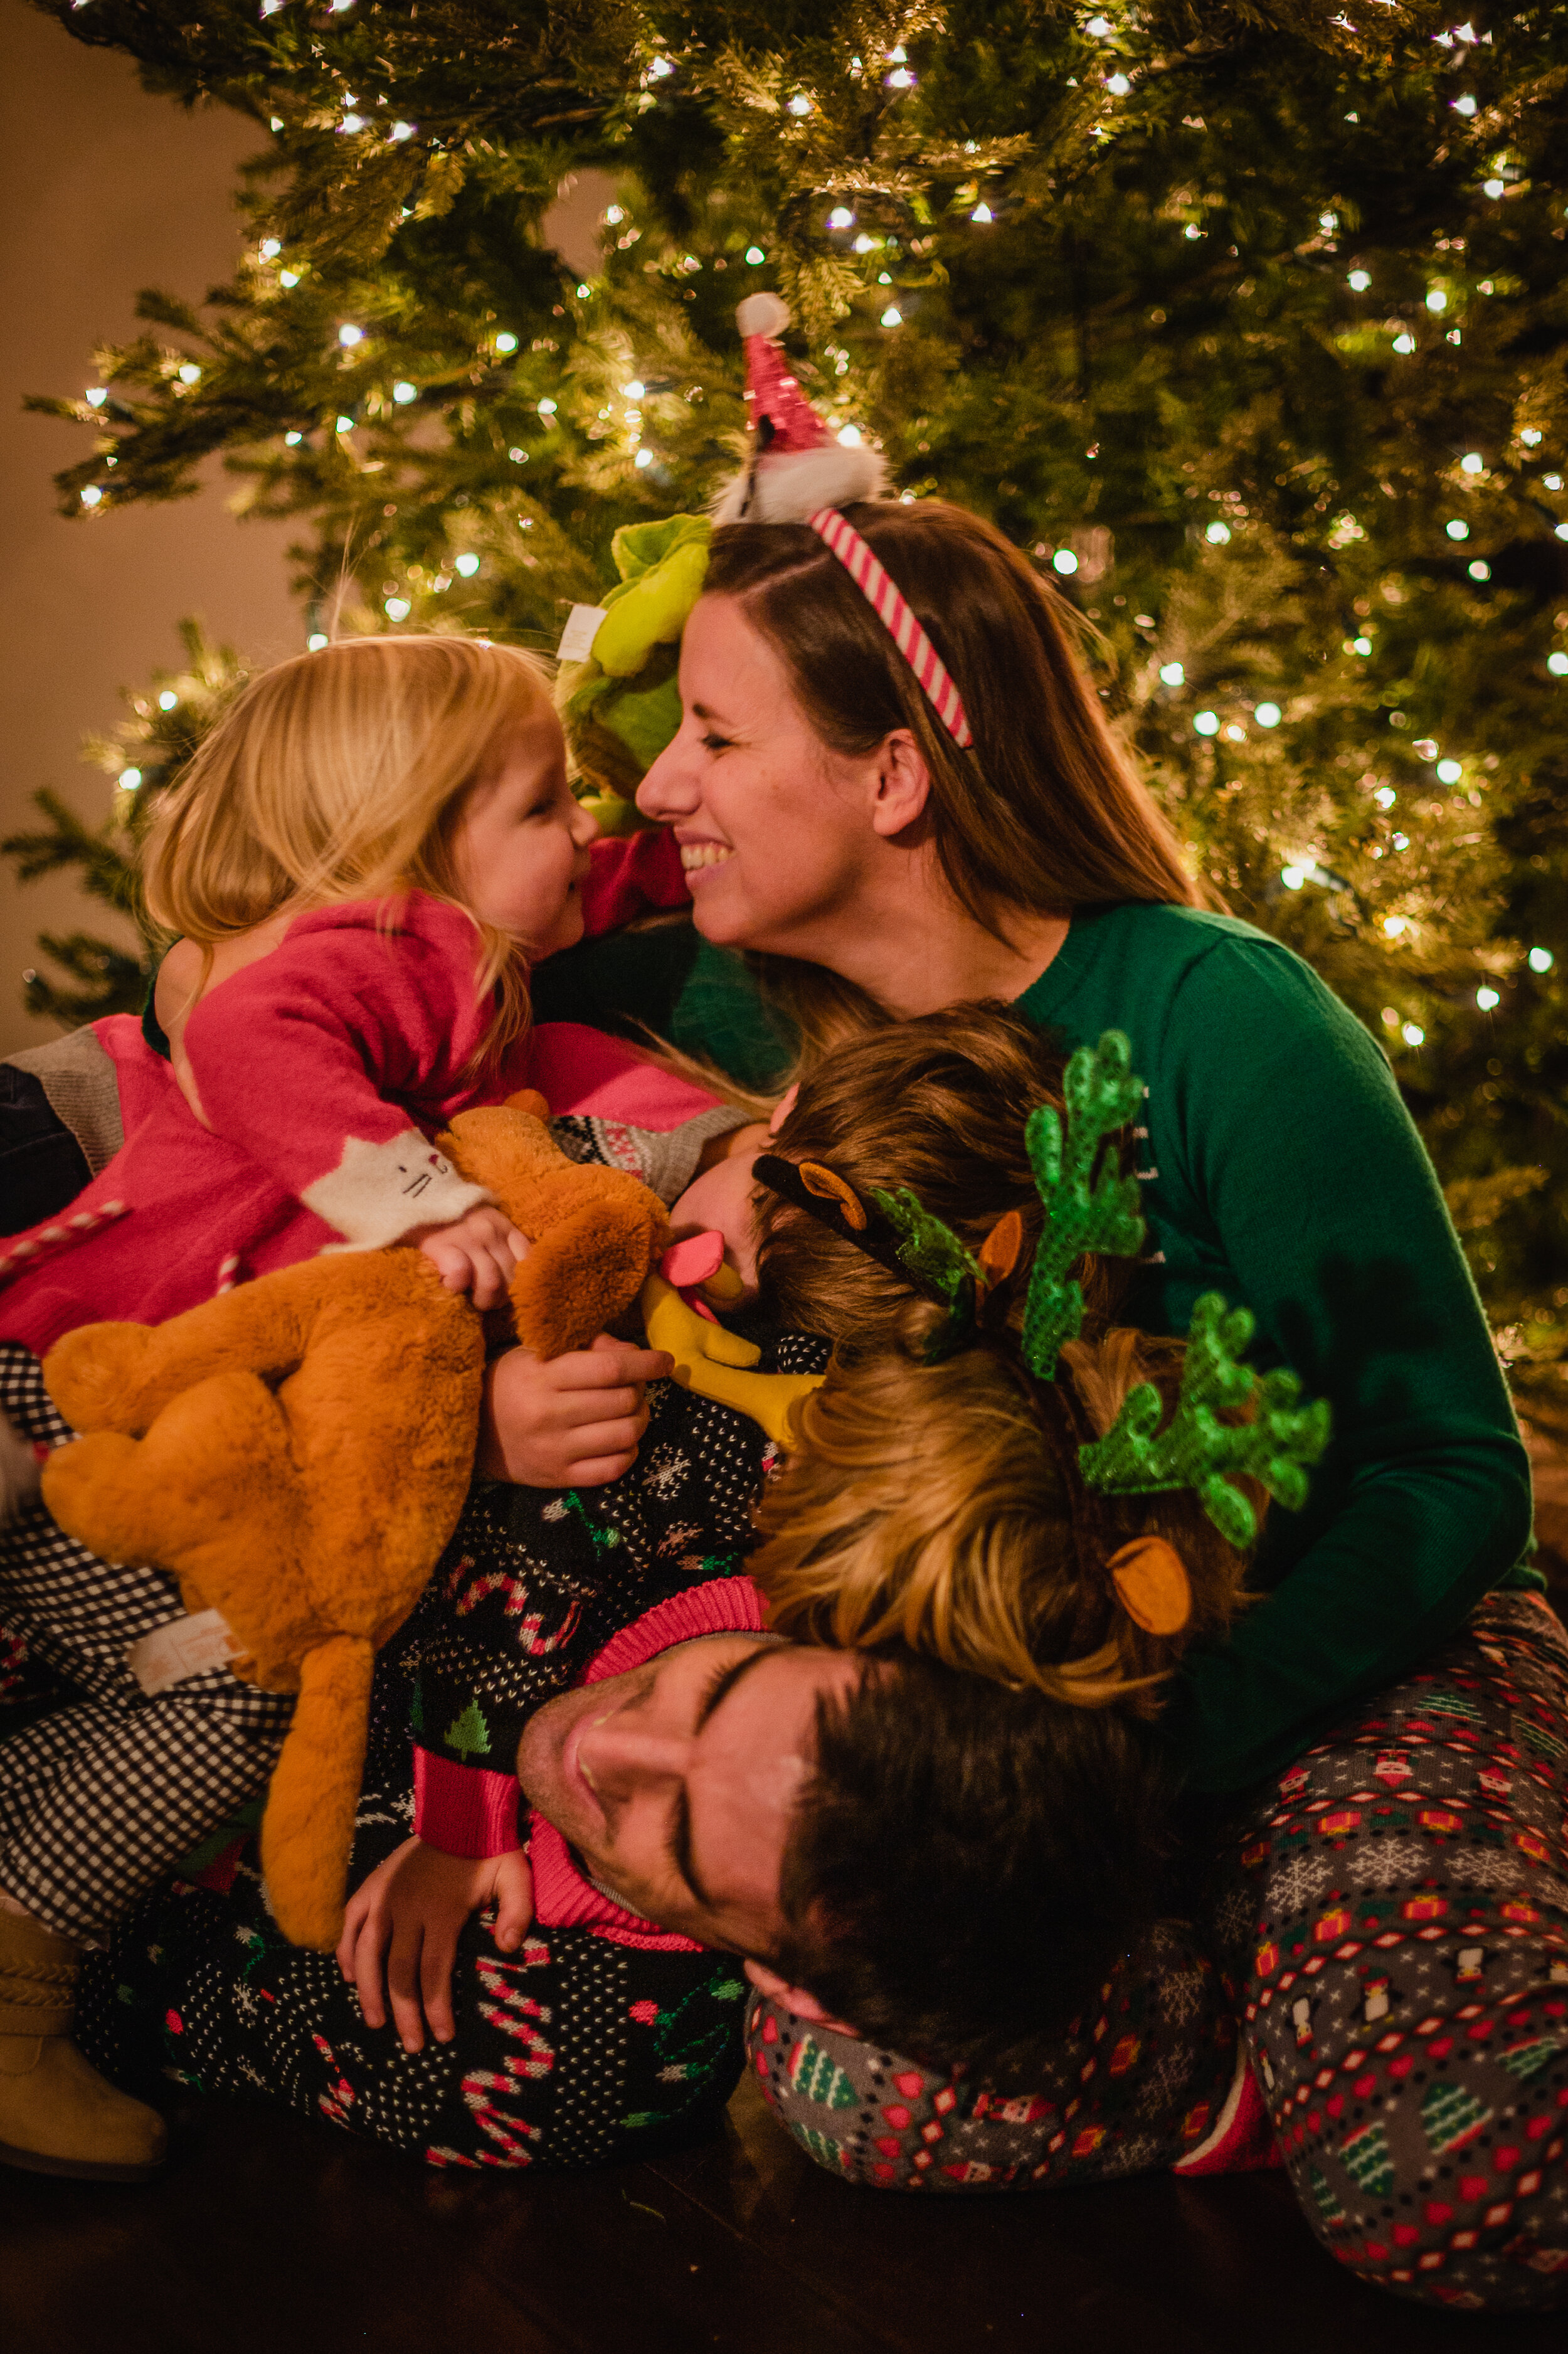
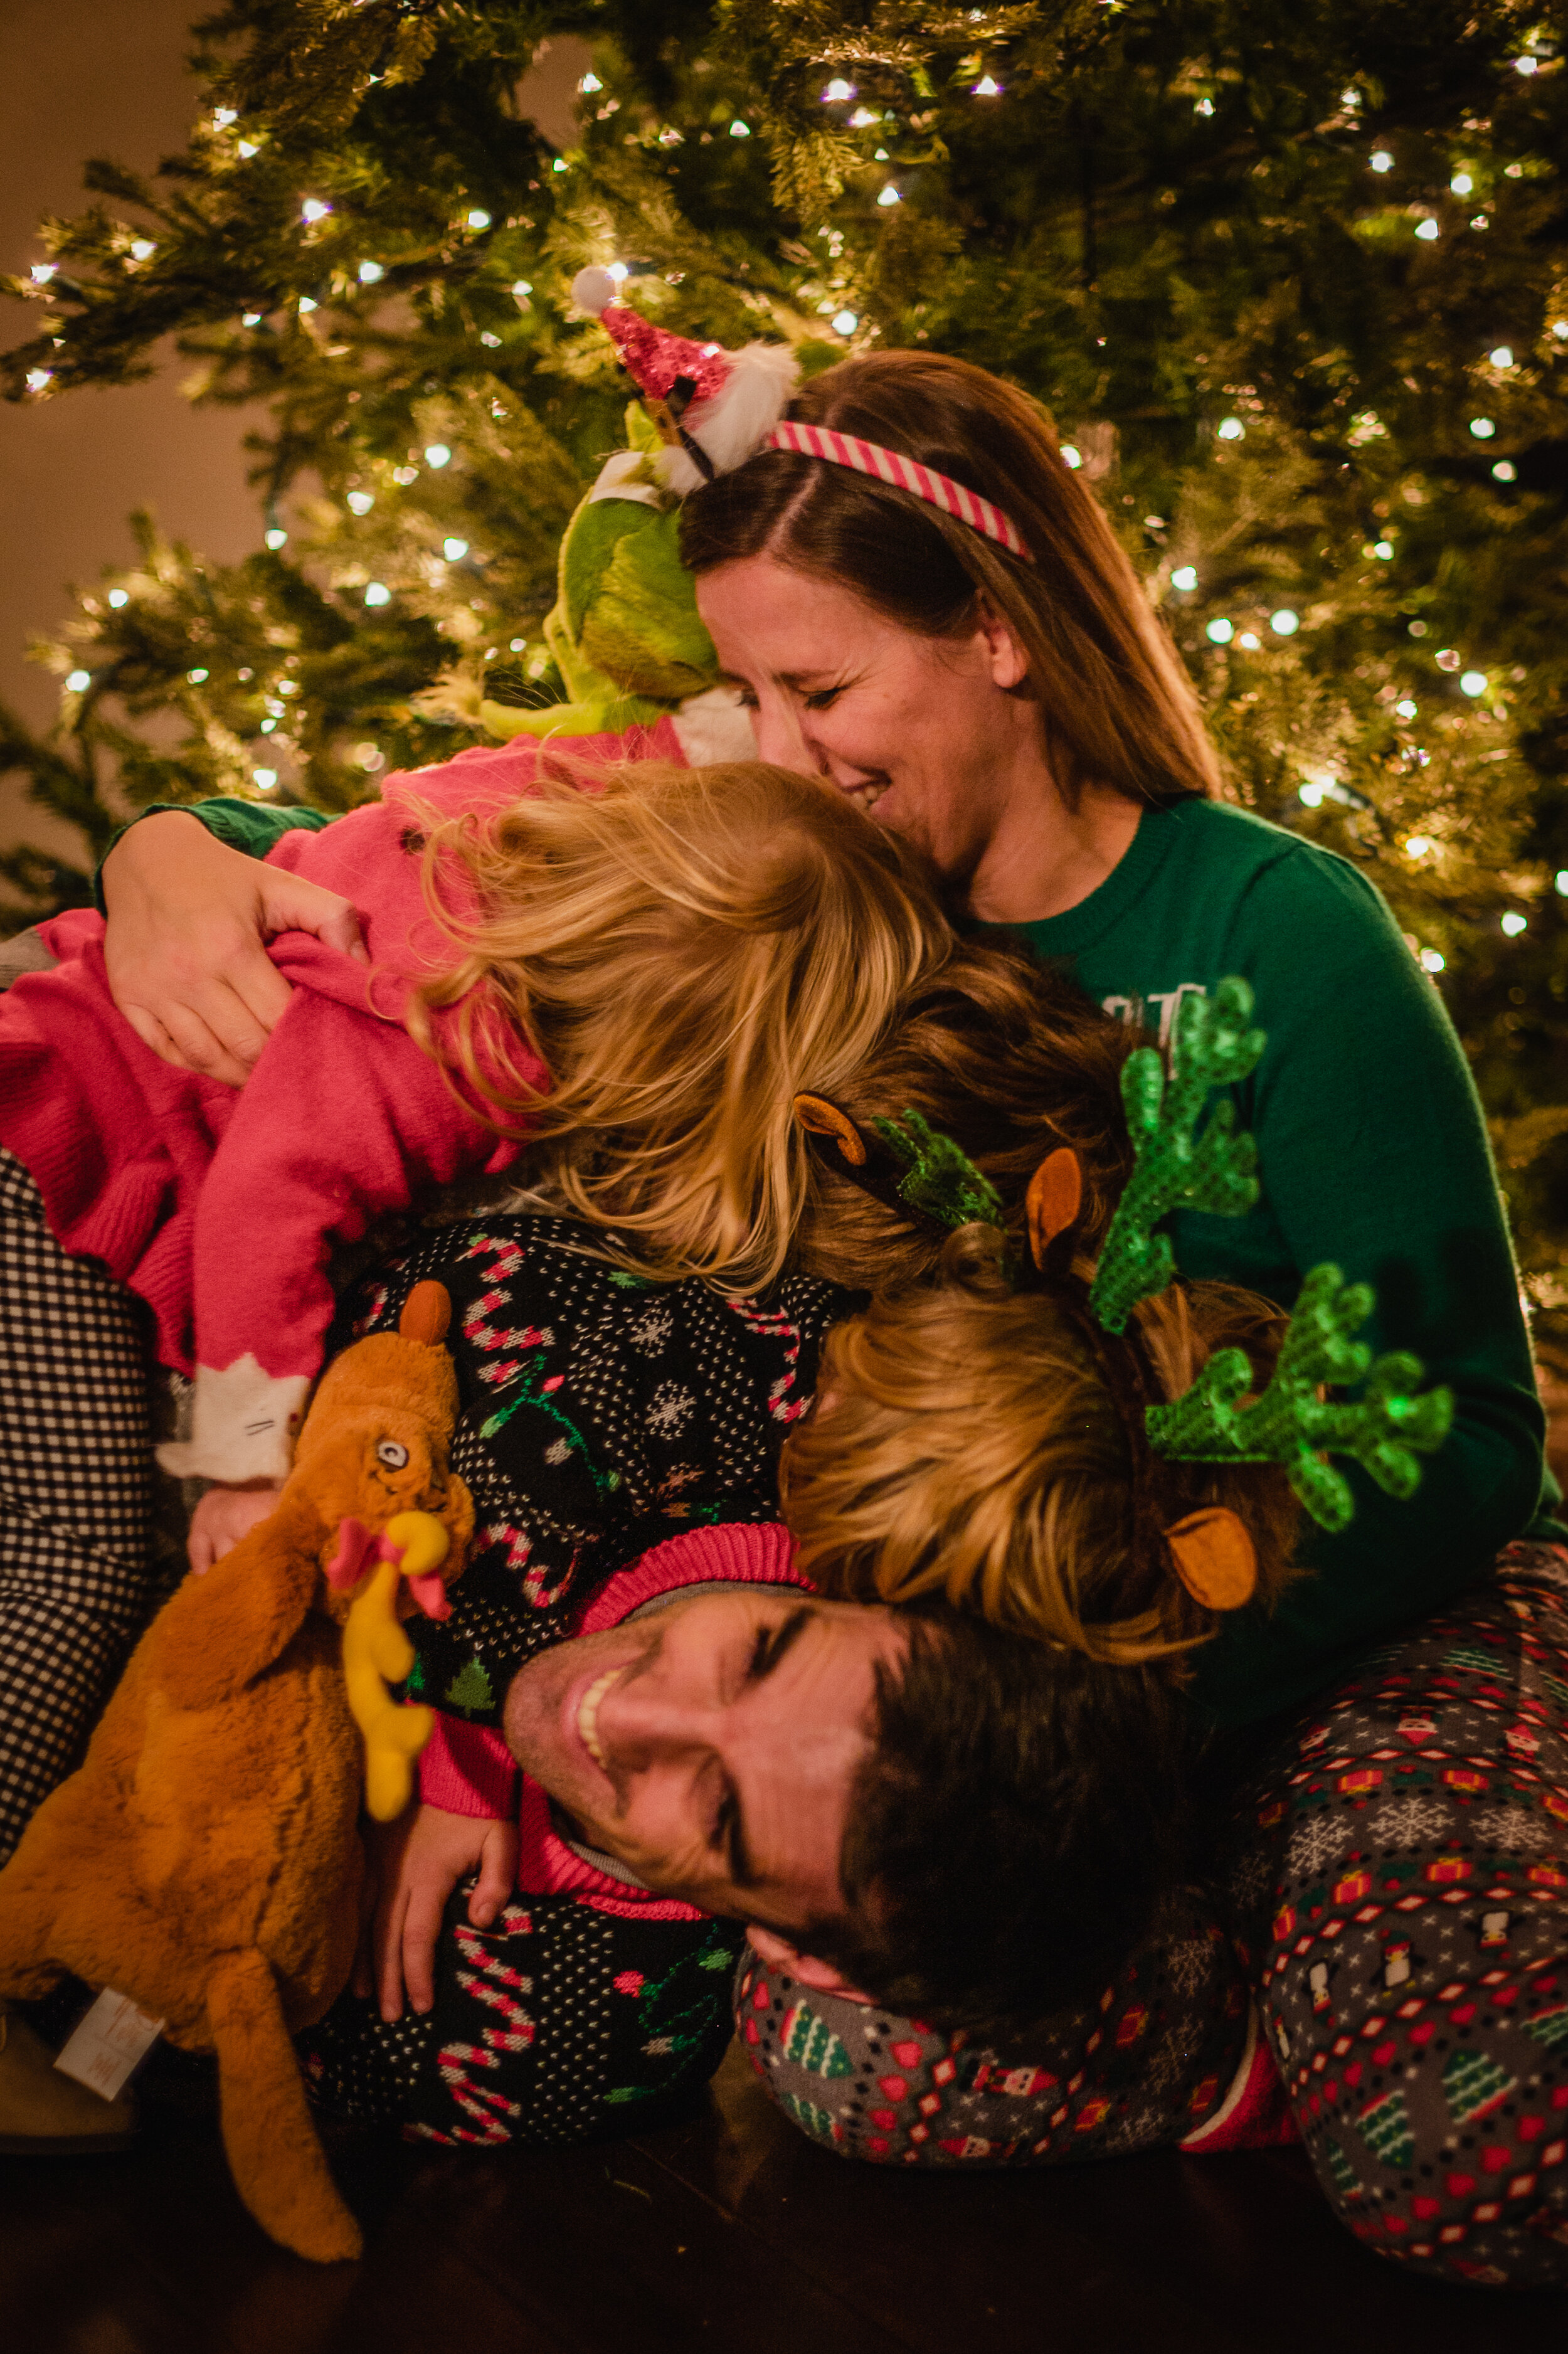
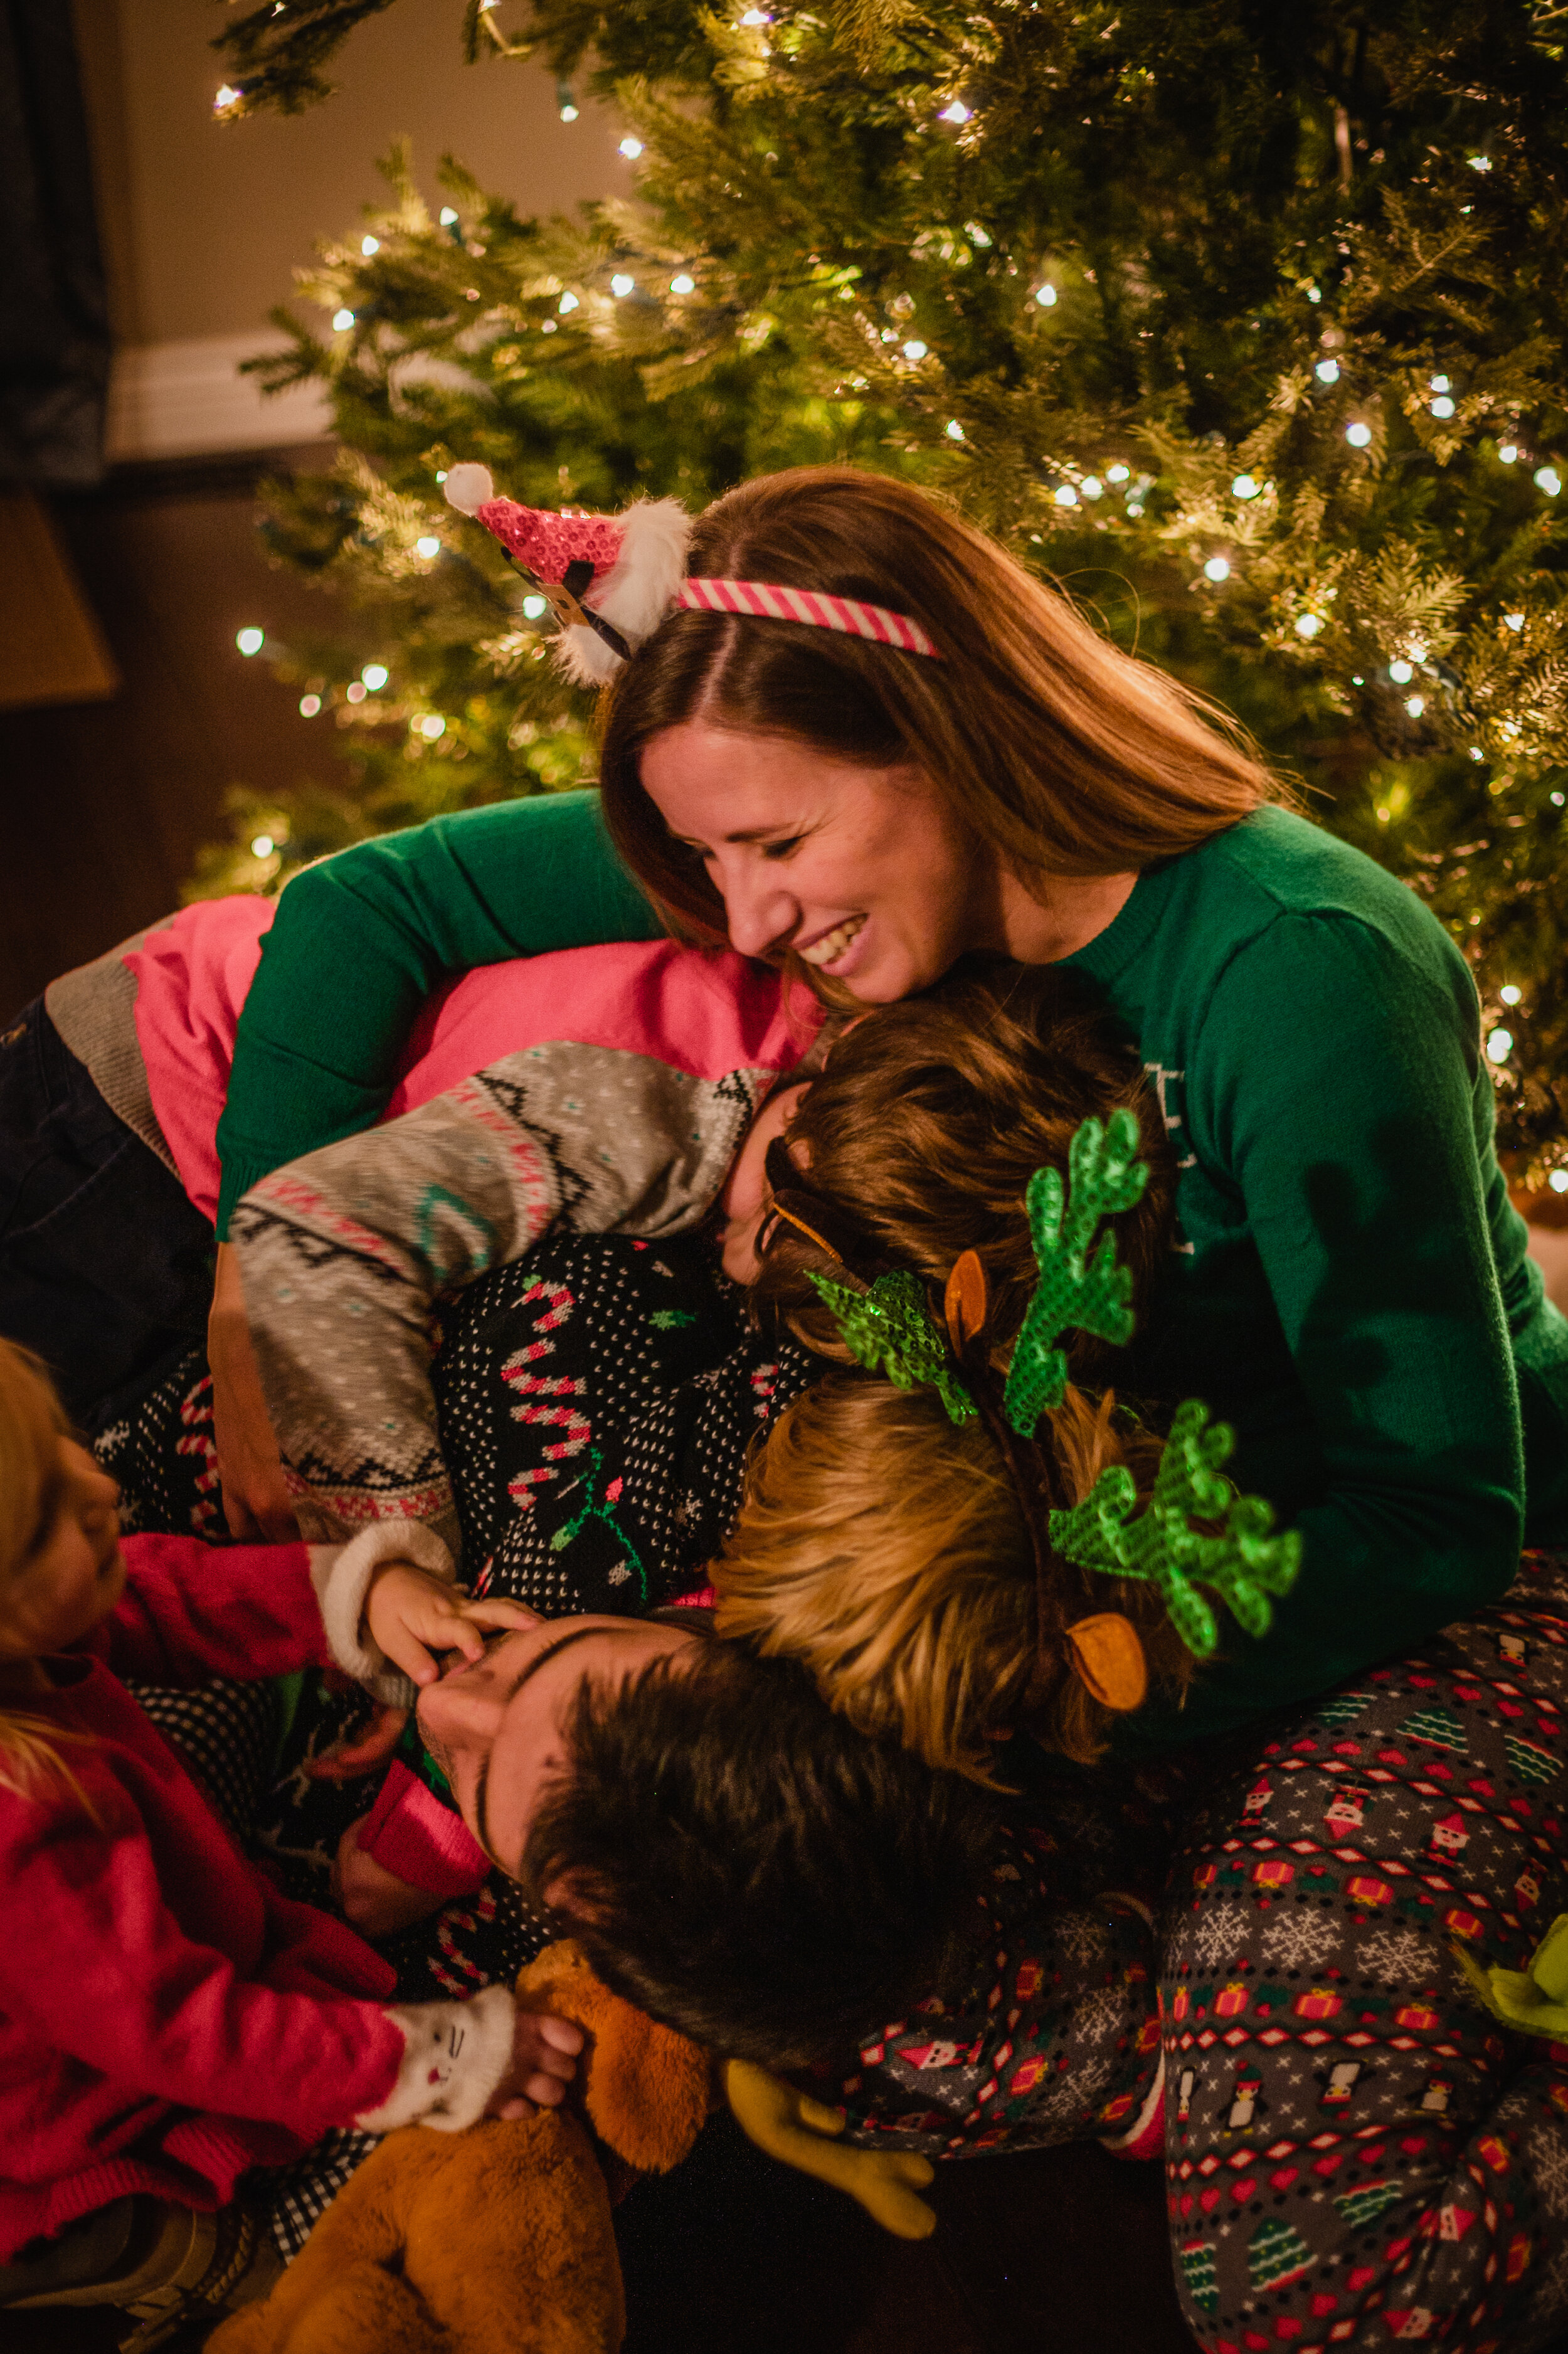
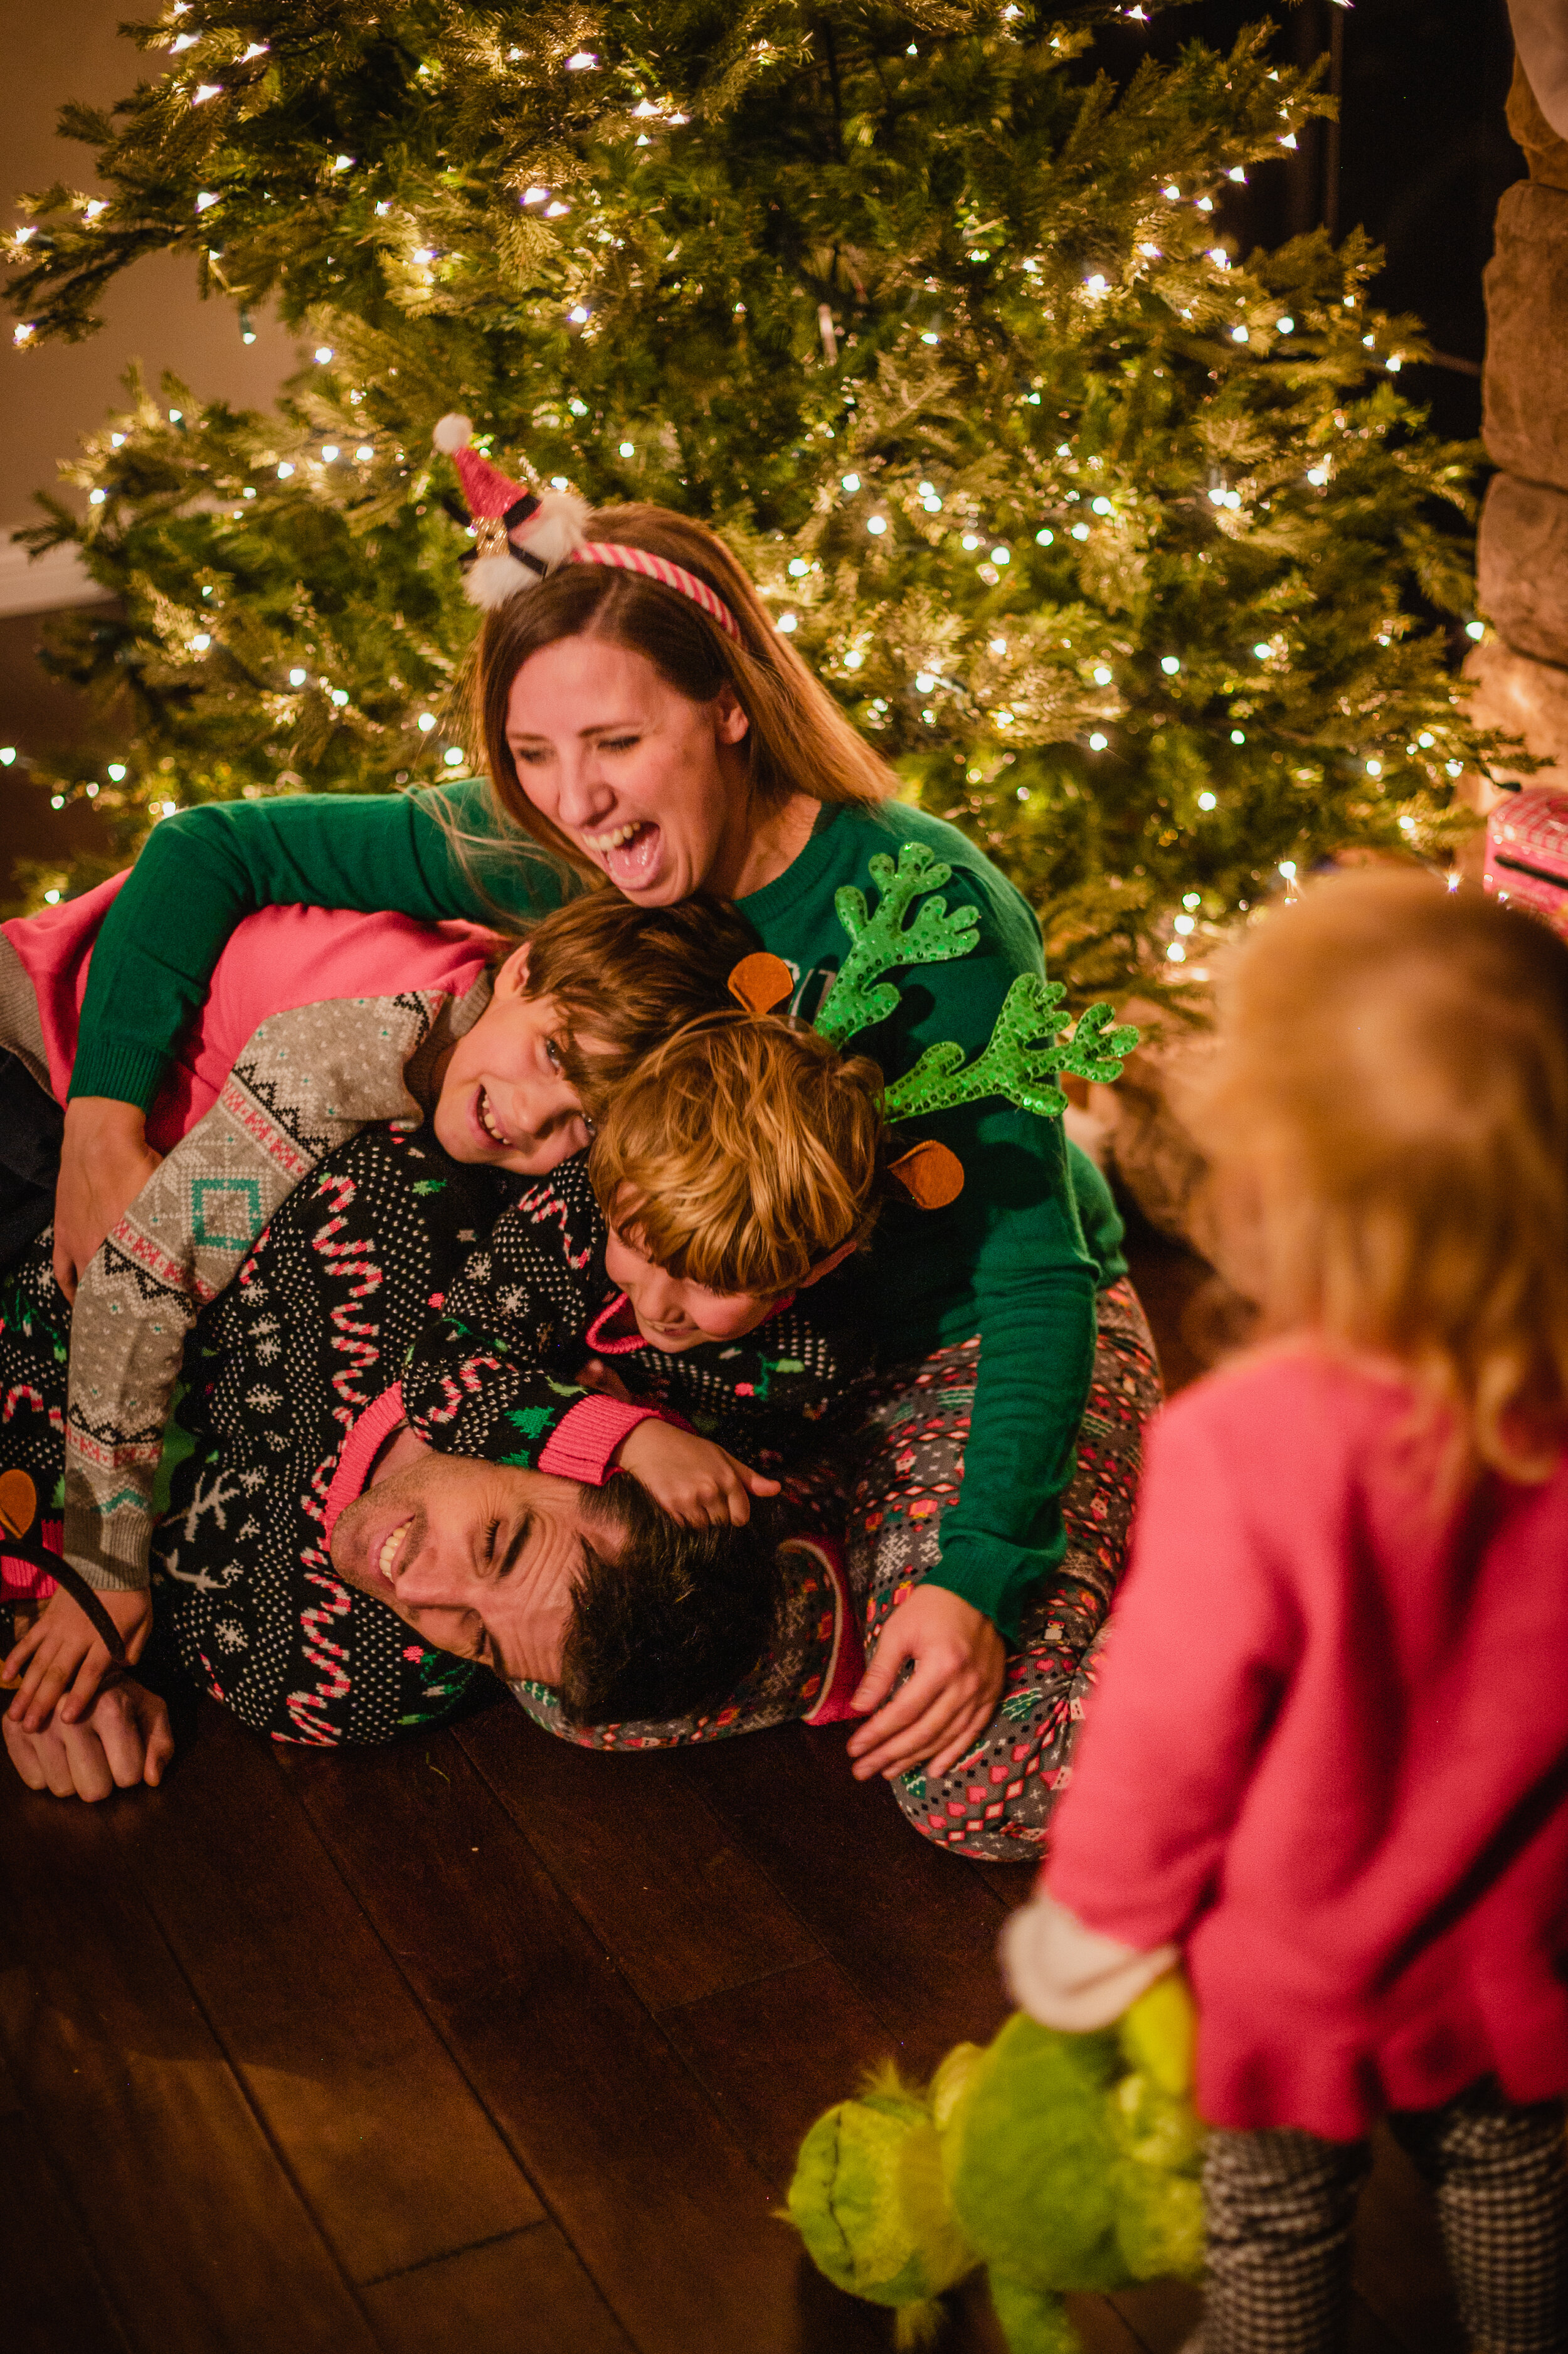
You all have seen those pictures of a happy couple or a family siting by the Christmas tree, matching pajamas, presents under the tree, maybe even hot chocolate in hand. Those kinda pictures, right? Well, I was feeling really festive and wanted to recreate that! I had never done anything like it before and I was ready to try it out, so I set out to set something up.
My main goal with this post is to help you avoid the mistakes and learning pains that I had to go through to get where I am now. I hope you find this info illuminating! (pun intended).
Okay, so my first obstacle: lighting. For indoor shoots, lighting typically is less-than ideal because it’s either too dark, or the lighting you do have casts a white balance that is too yellow. That being said, changing the white balance so that the whites in the images are true can help, but external flash is always a better alternative. In order to get quality shots indoors, you need to either shoot during the daylight by a window, an open door, or have an external flash hooked up to your camera.
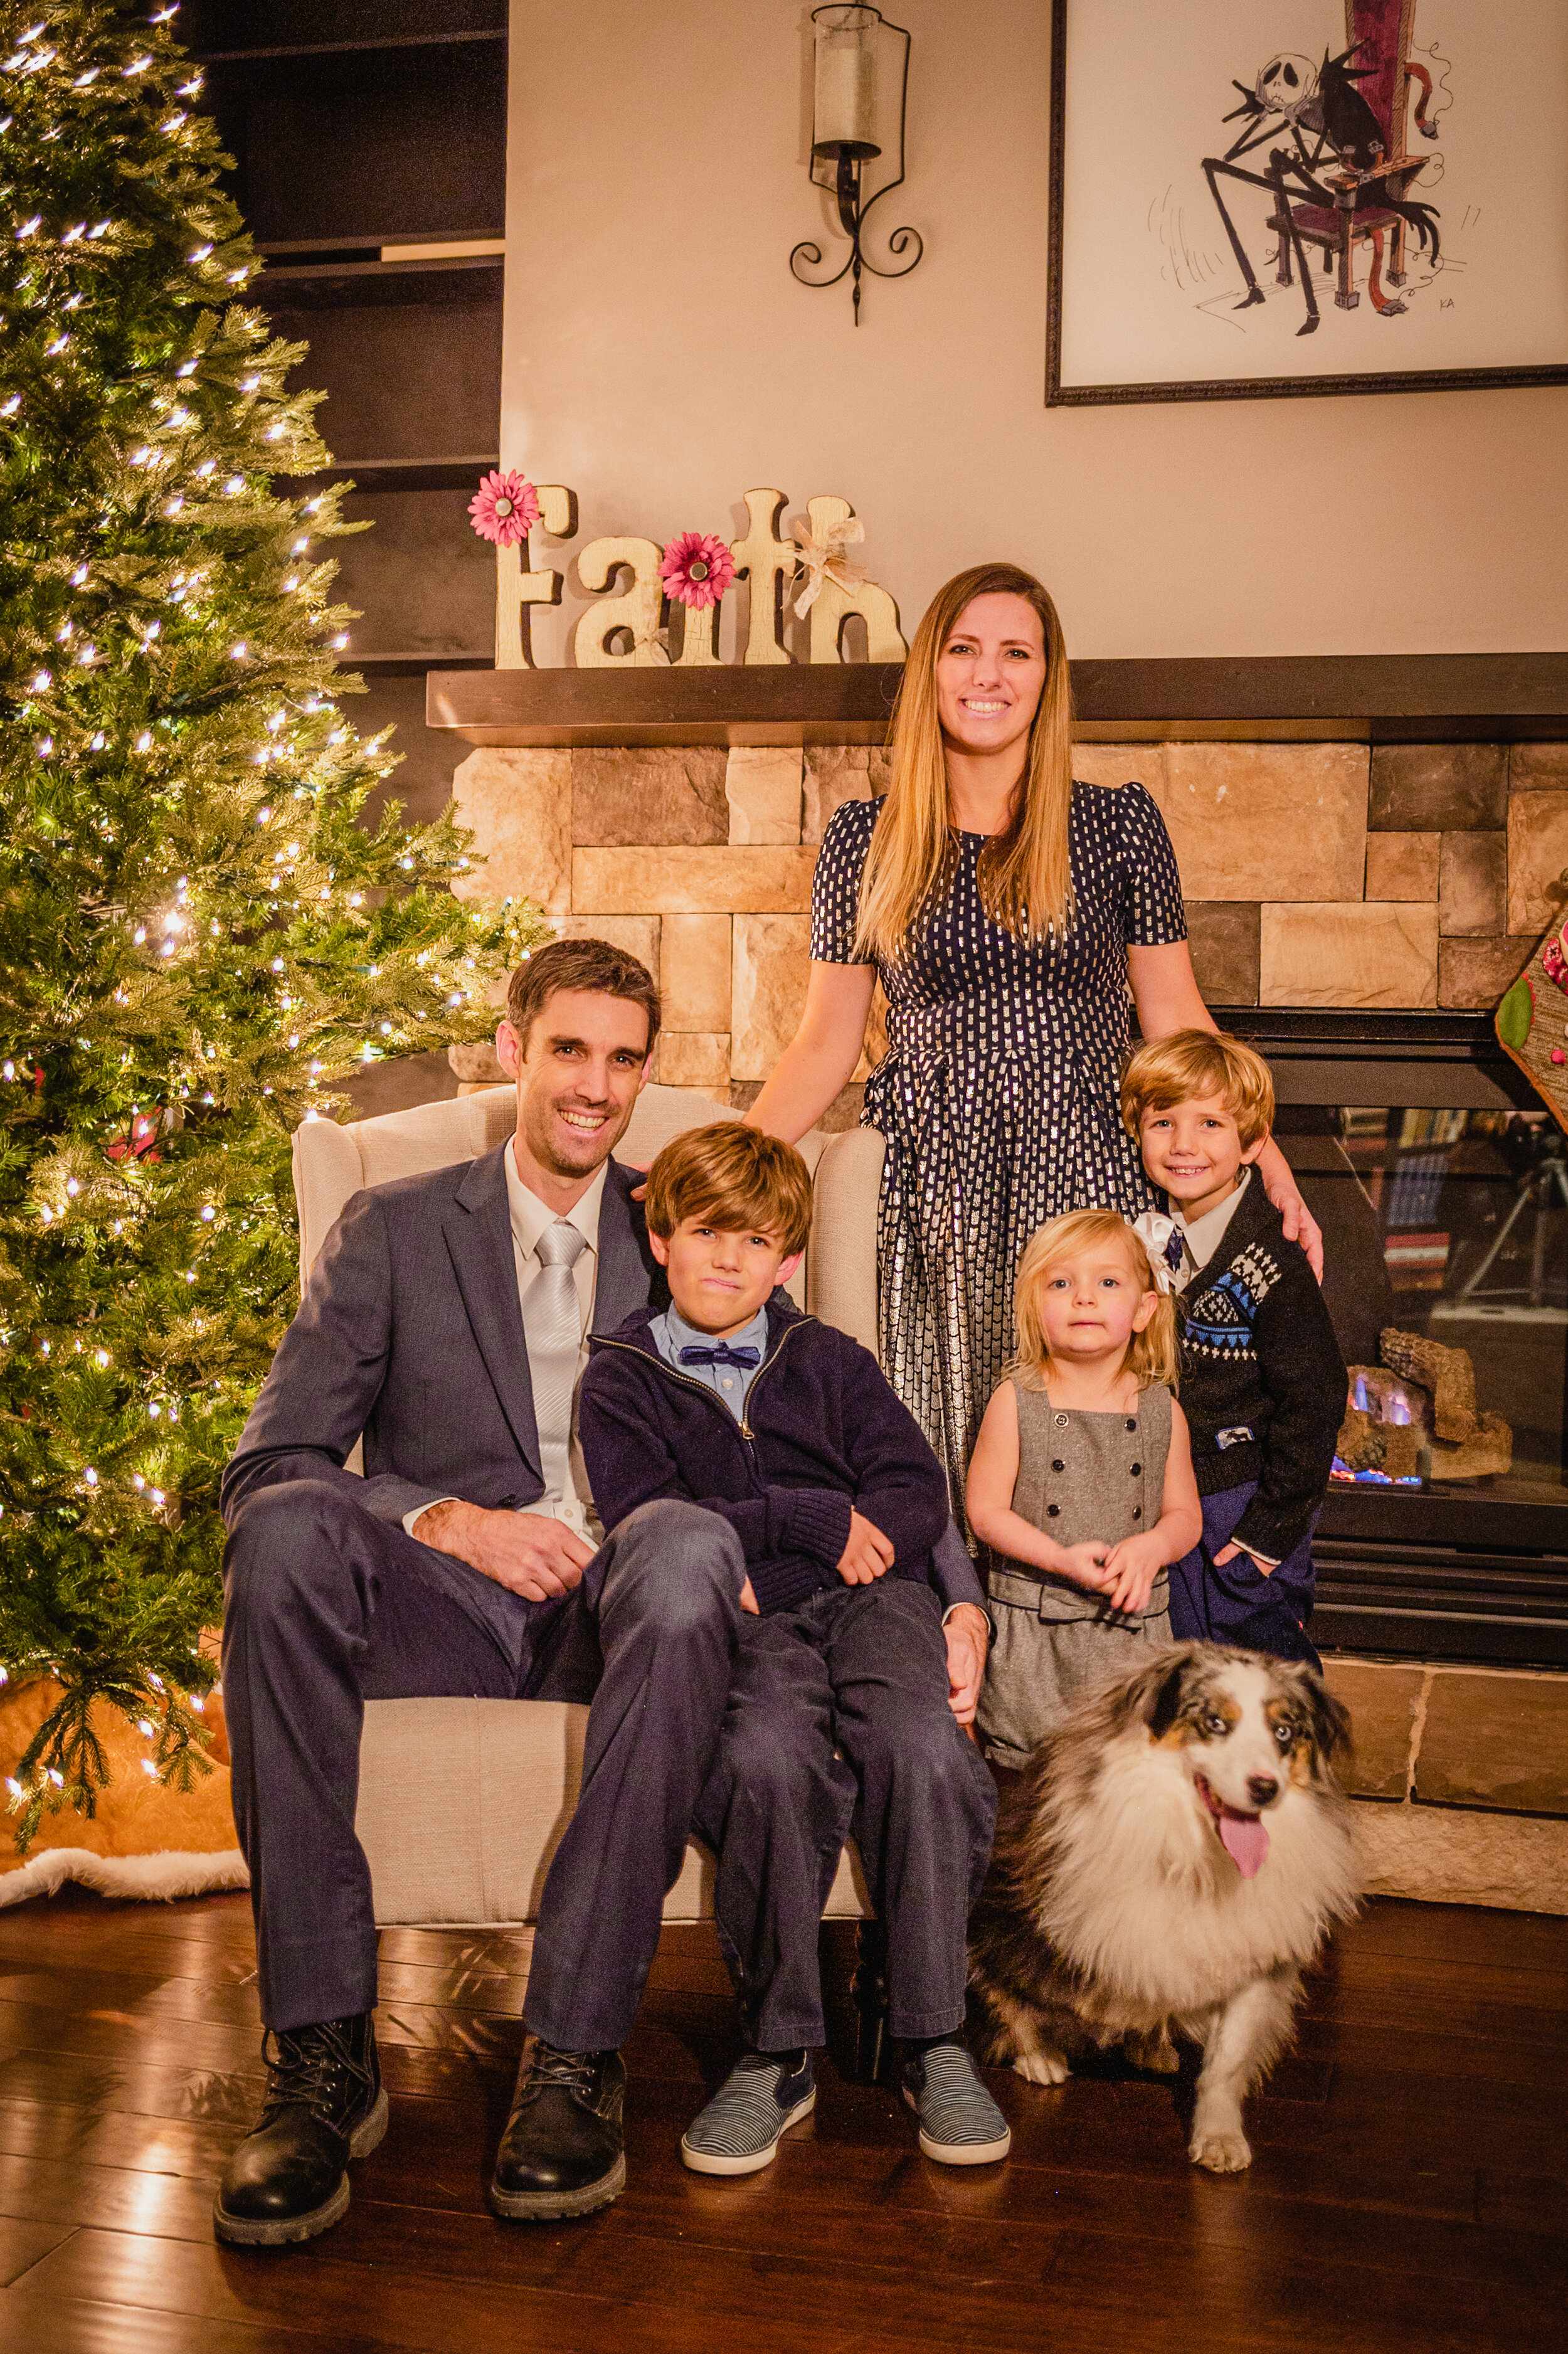
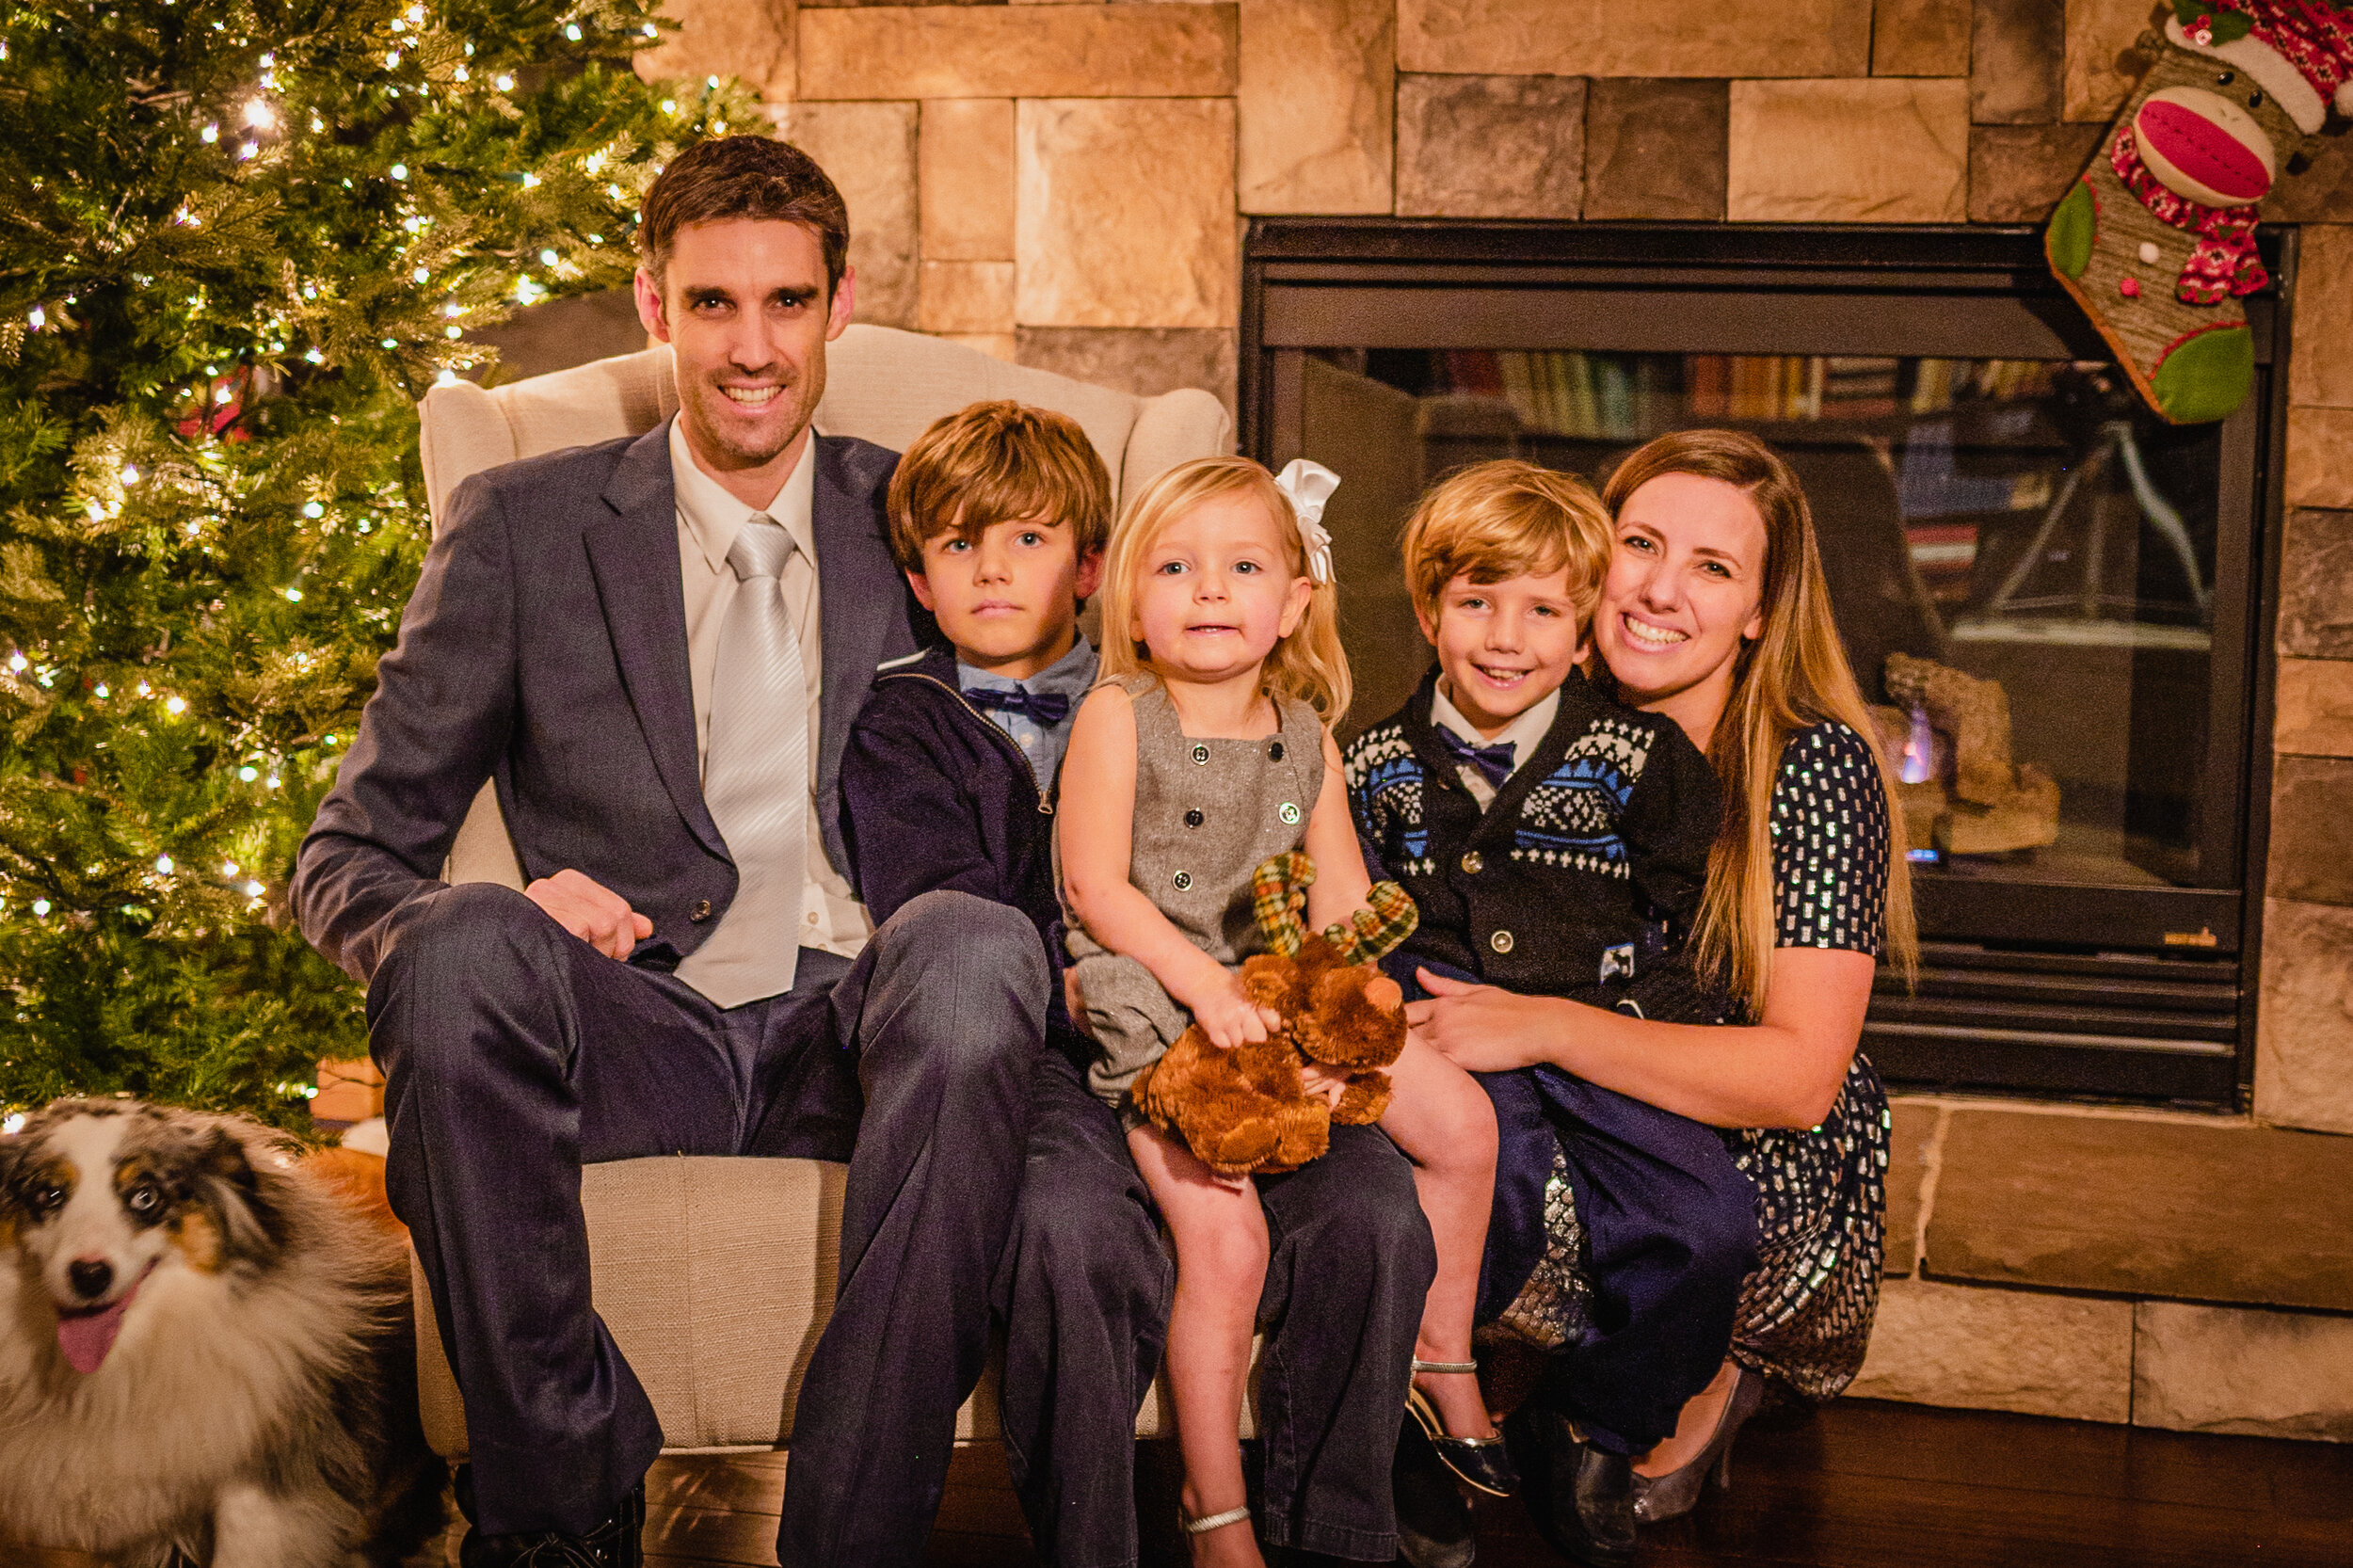
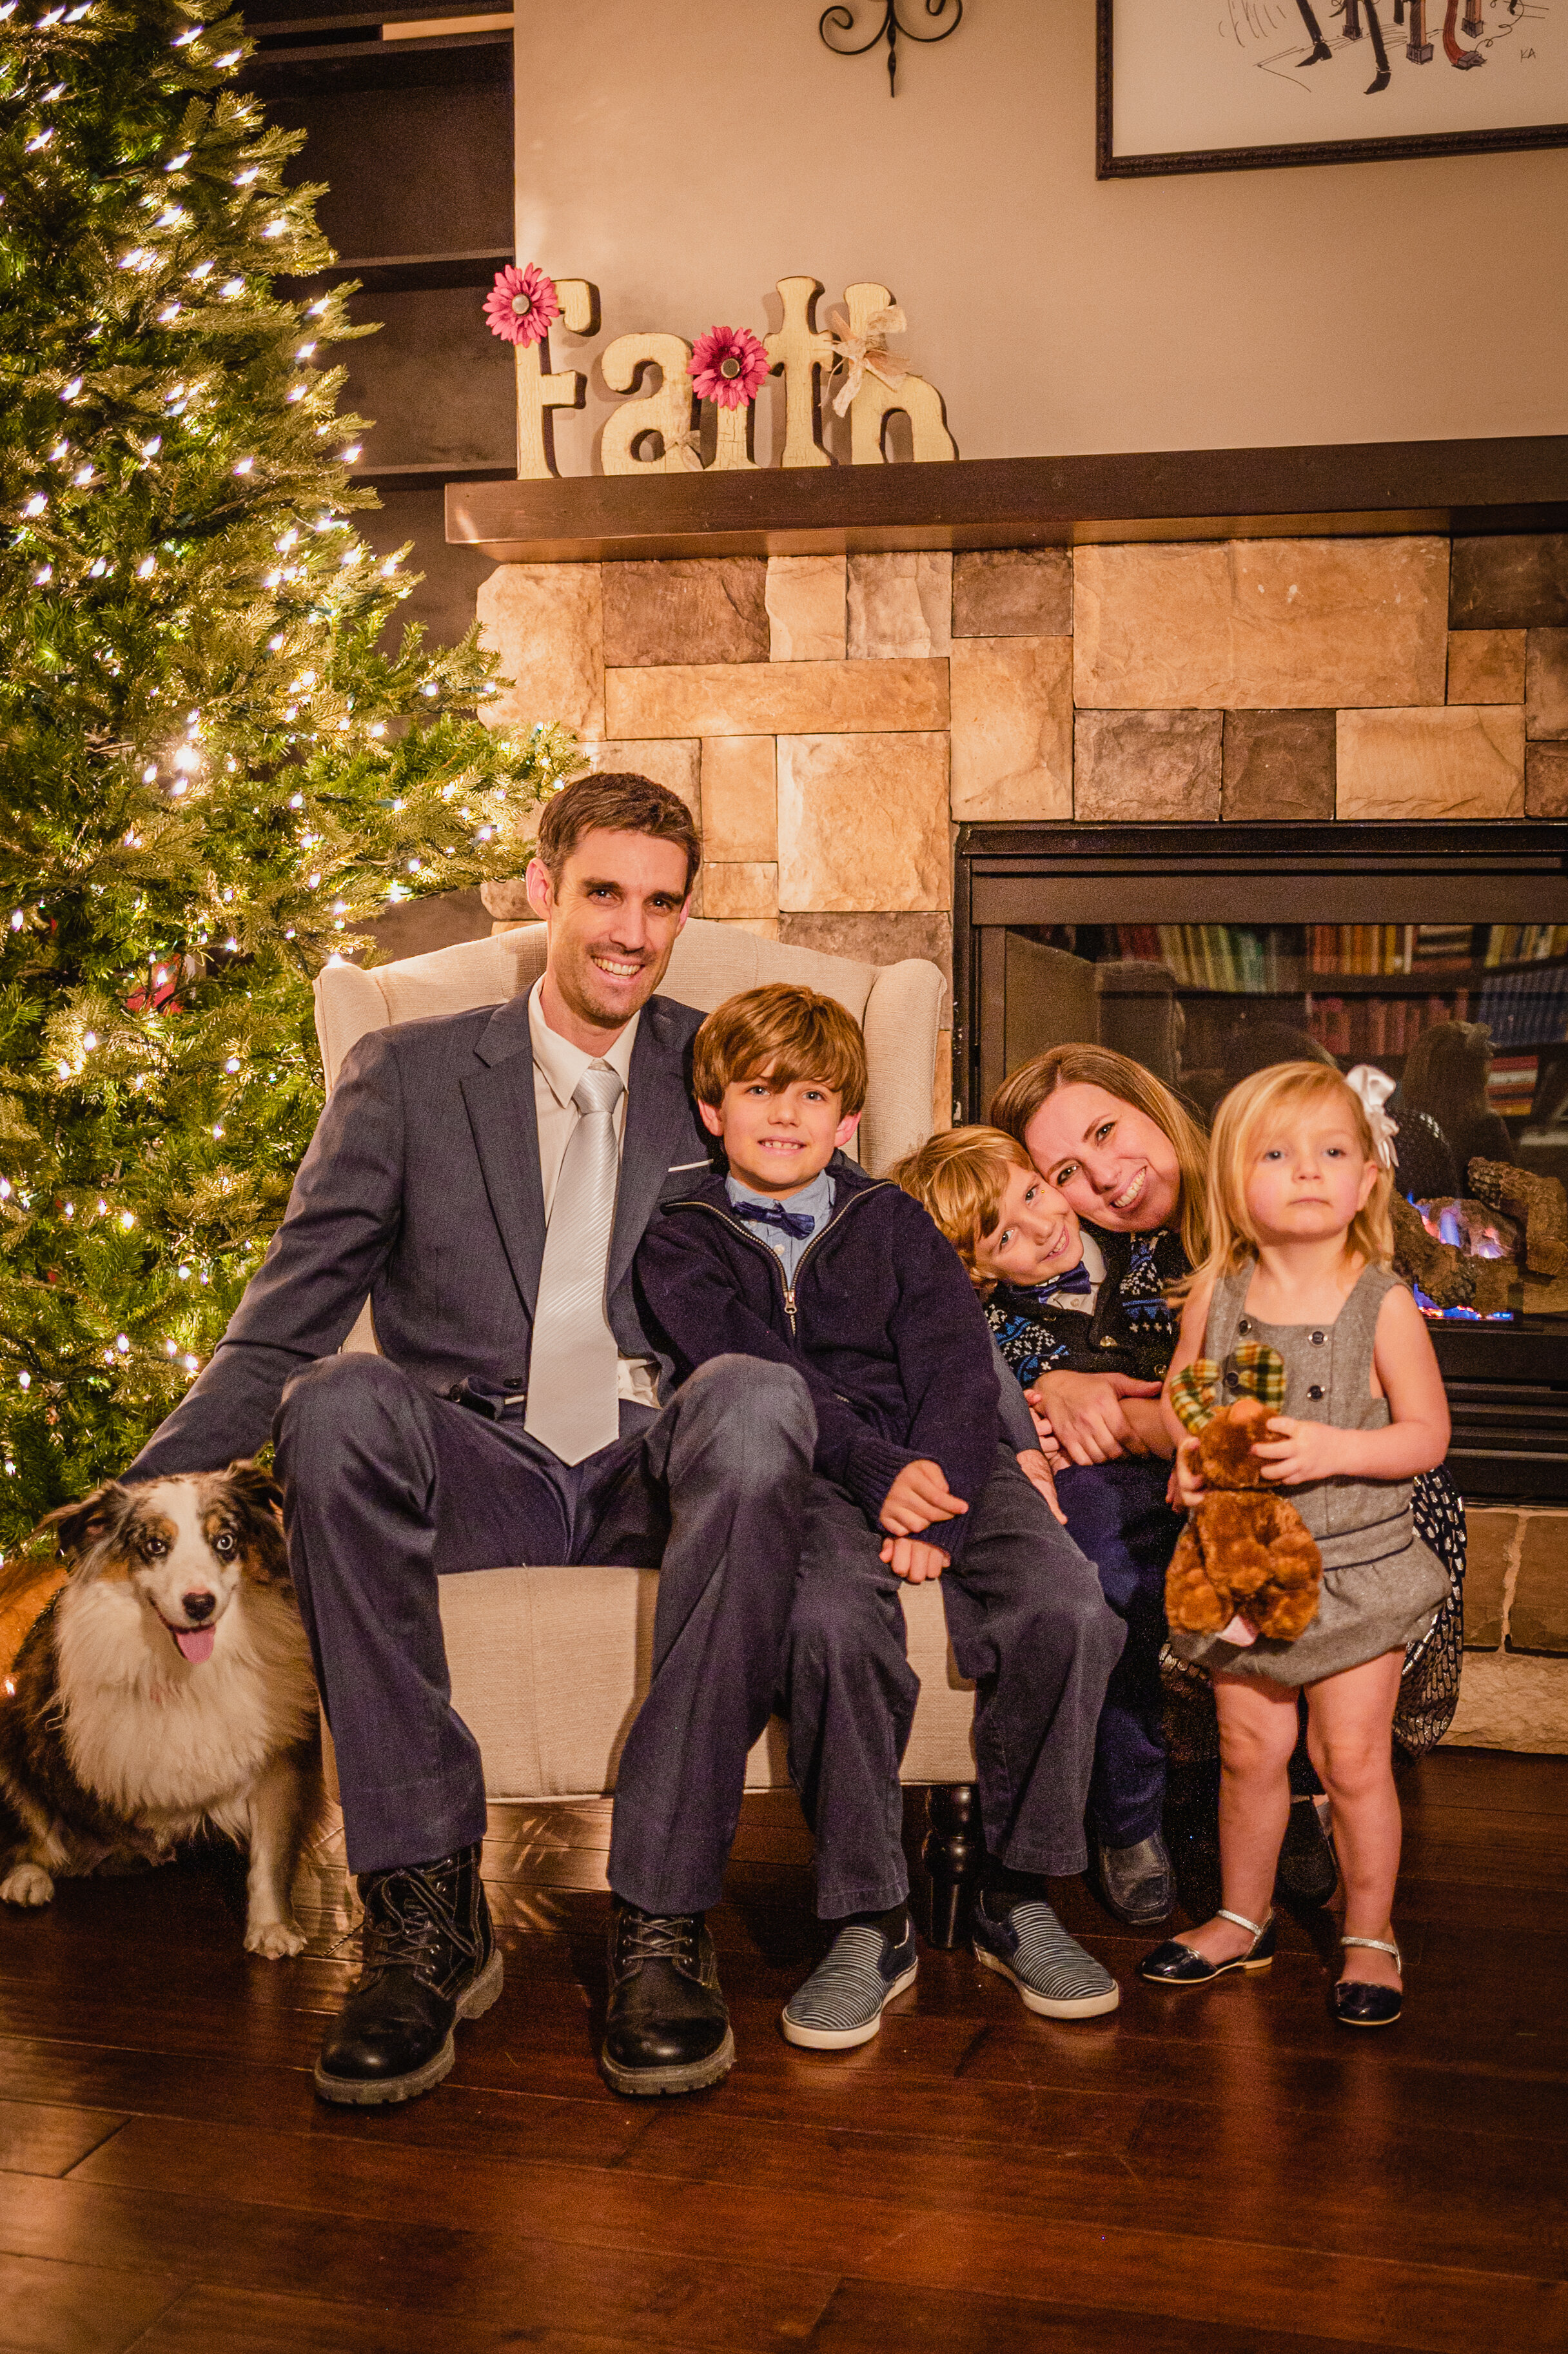
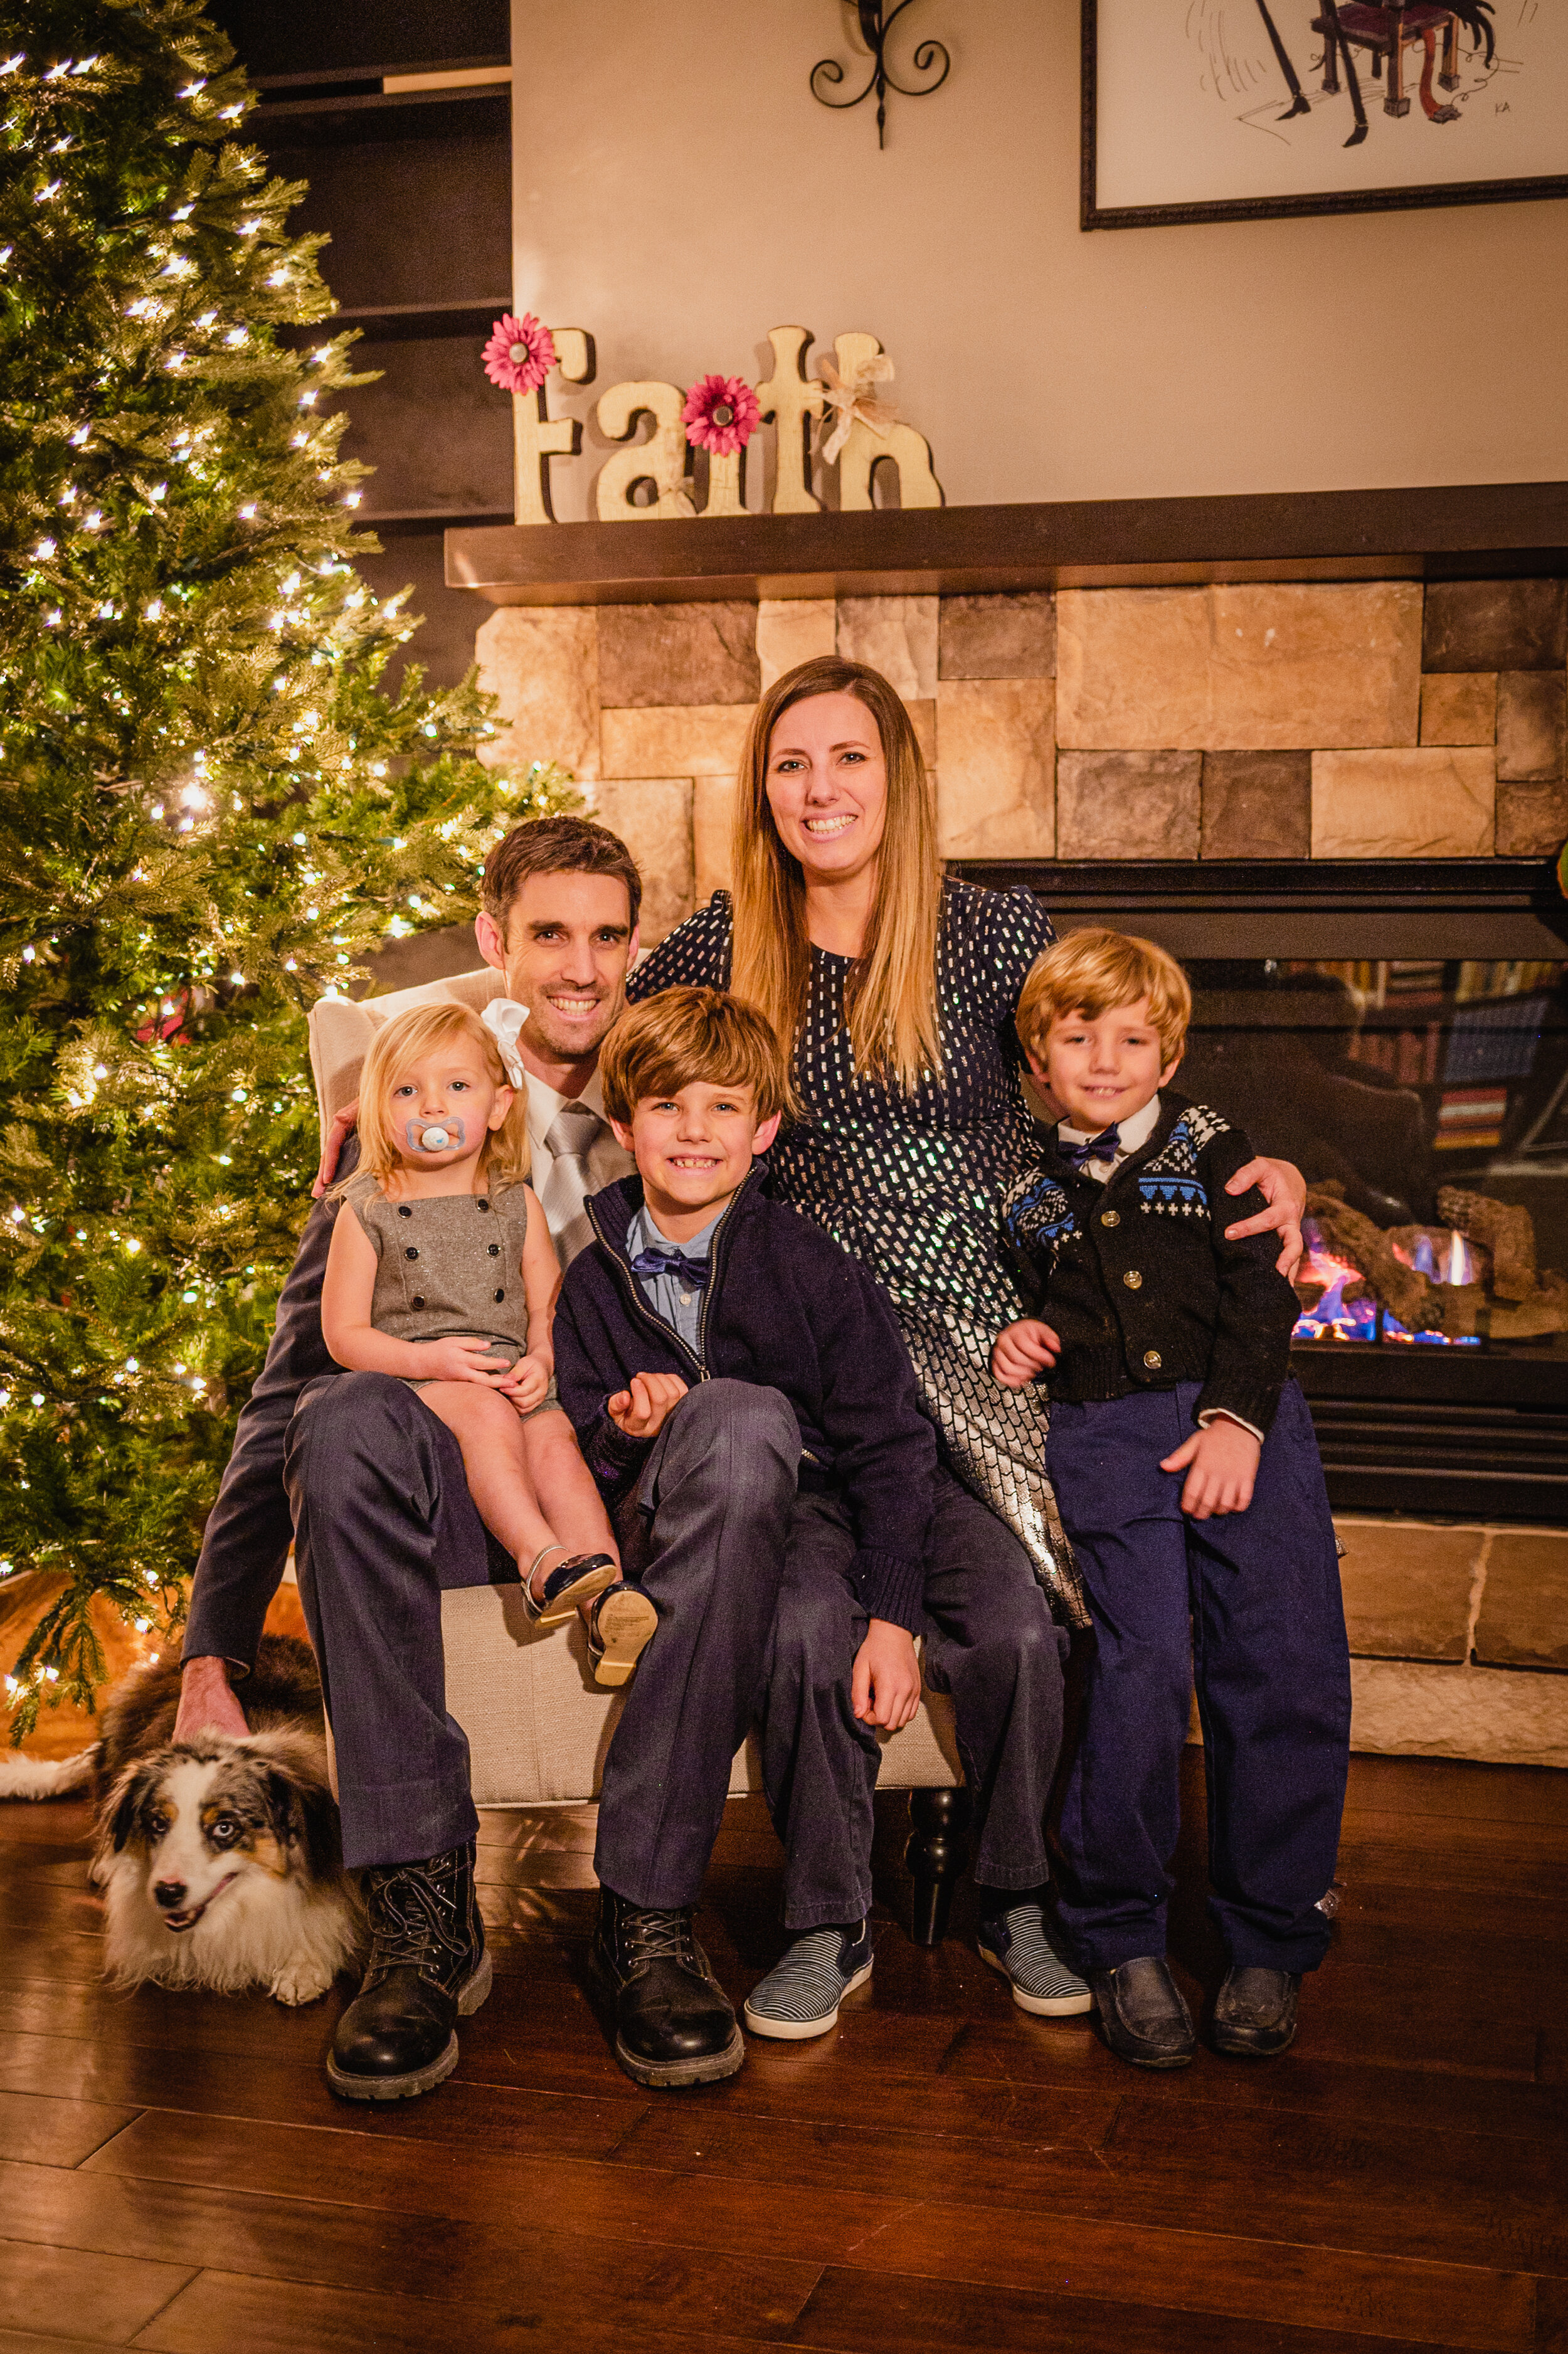
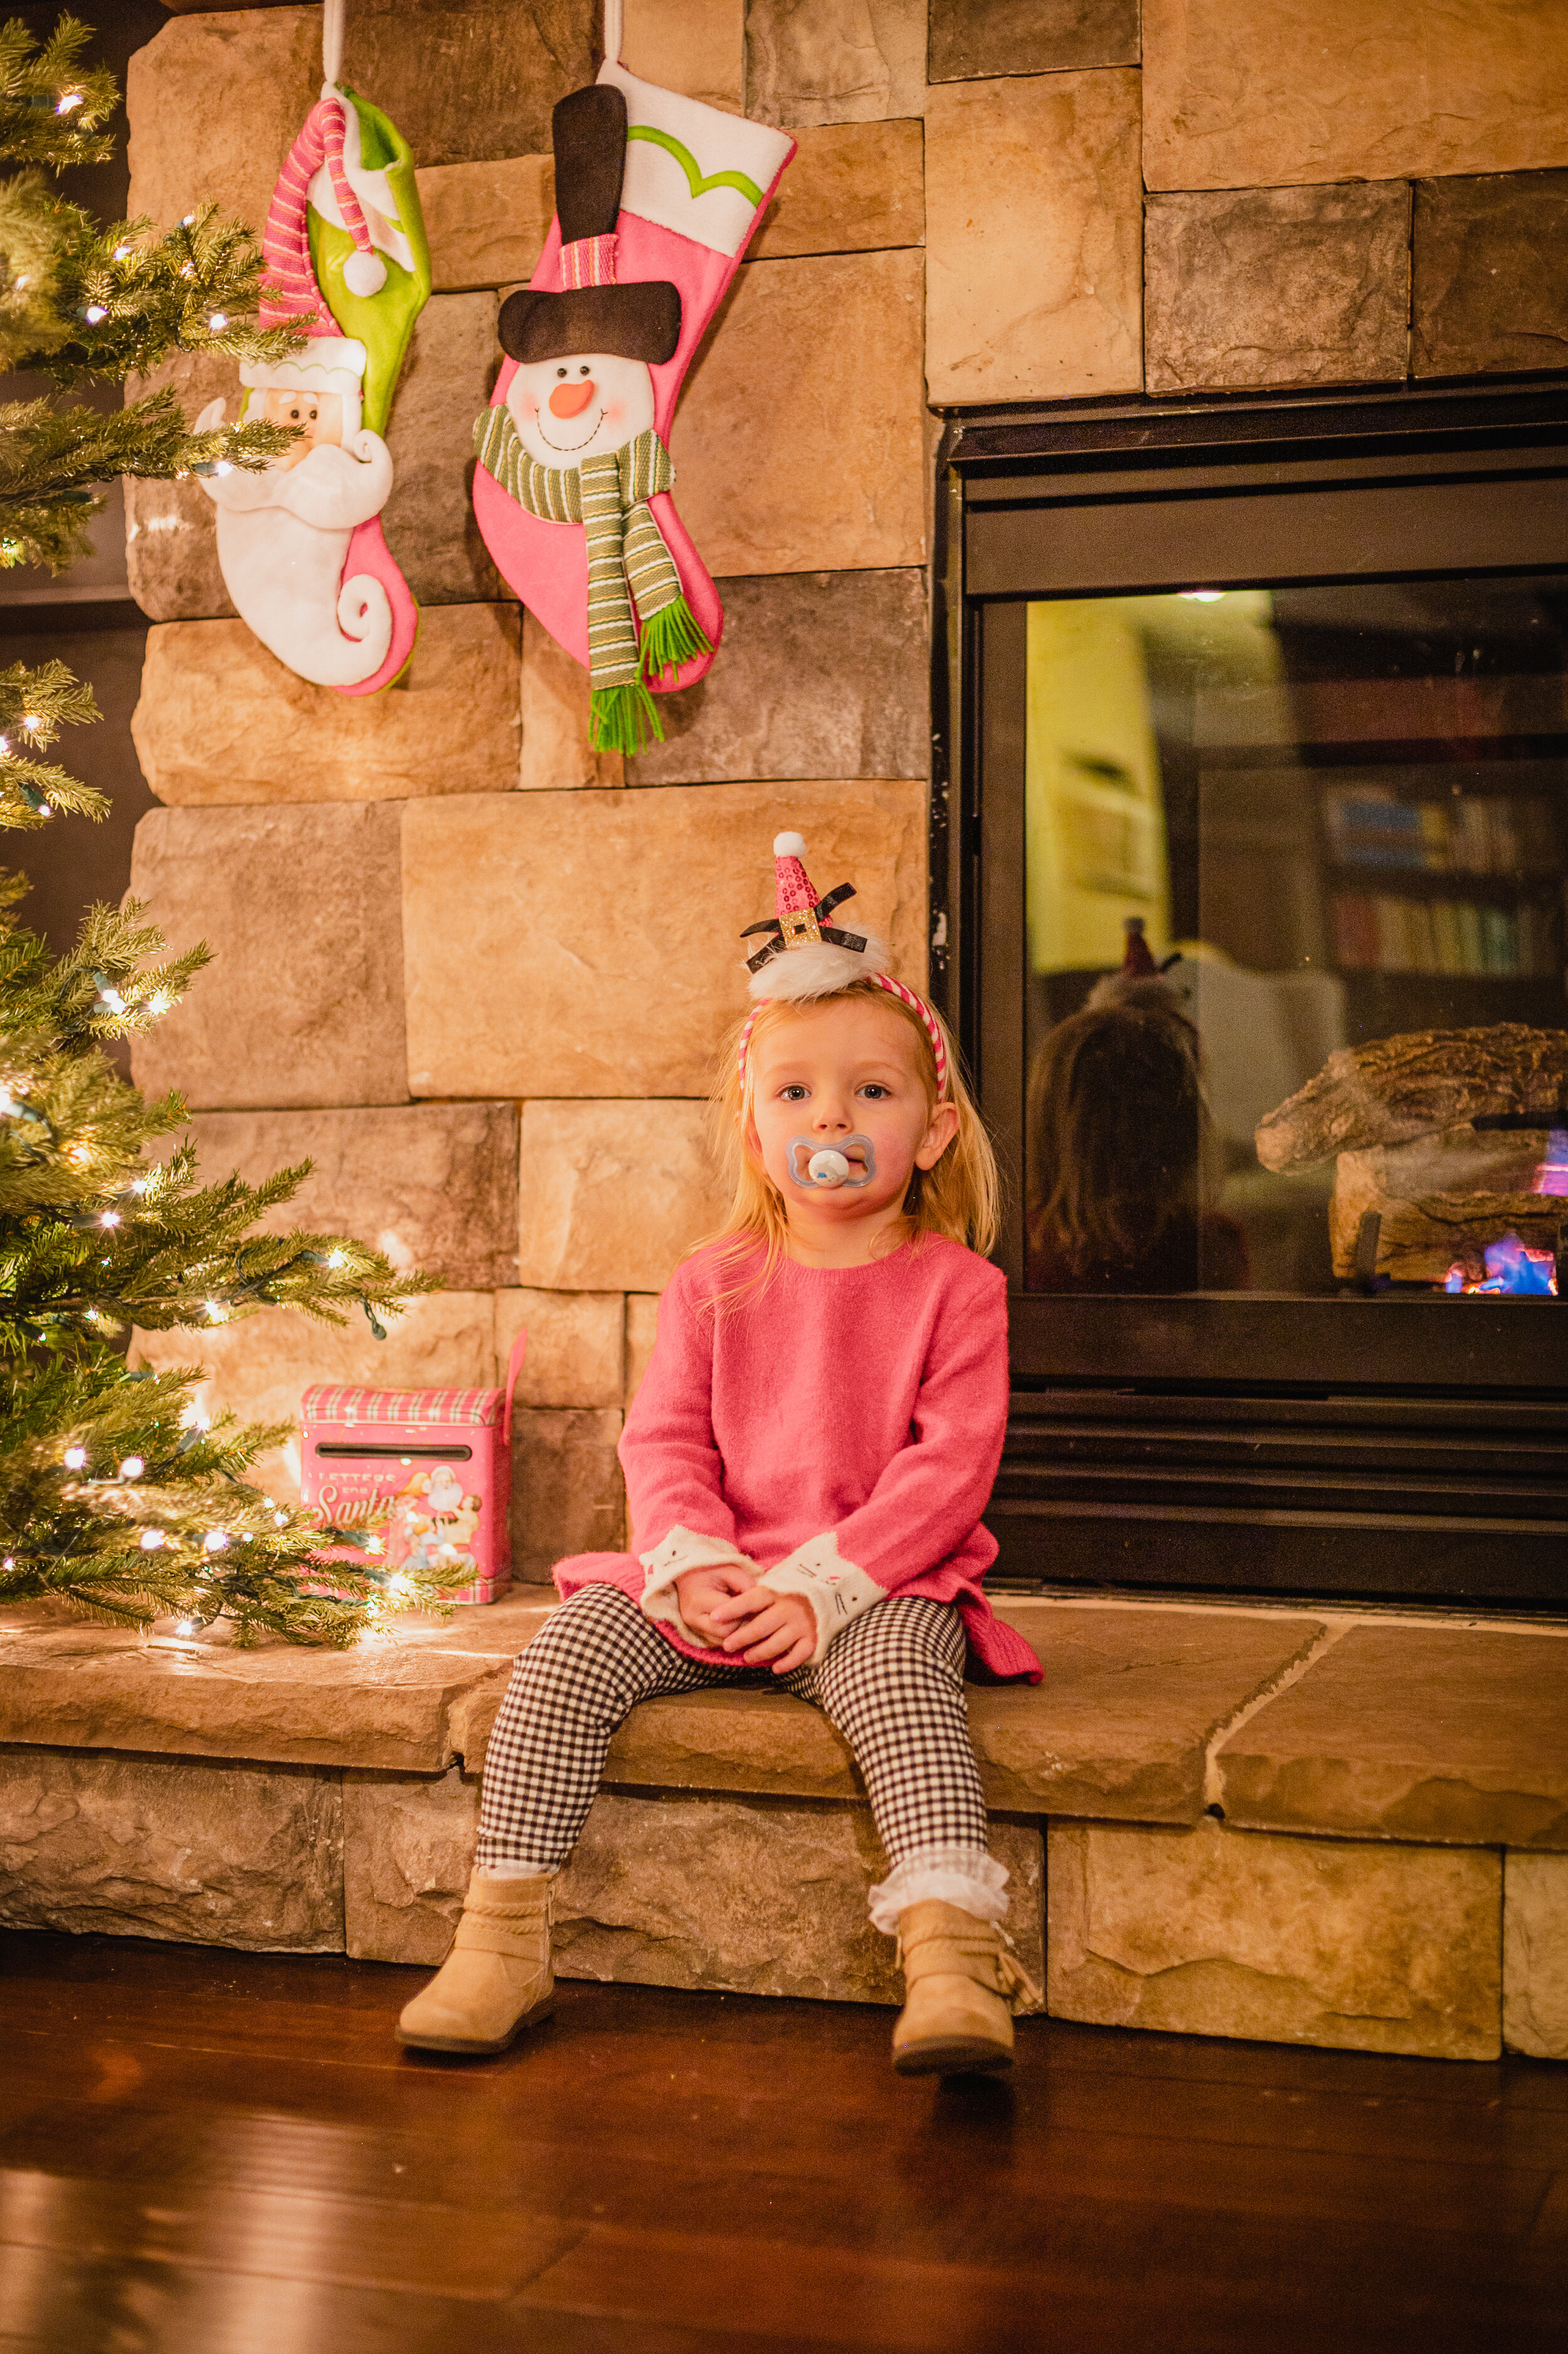
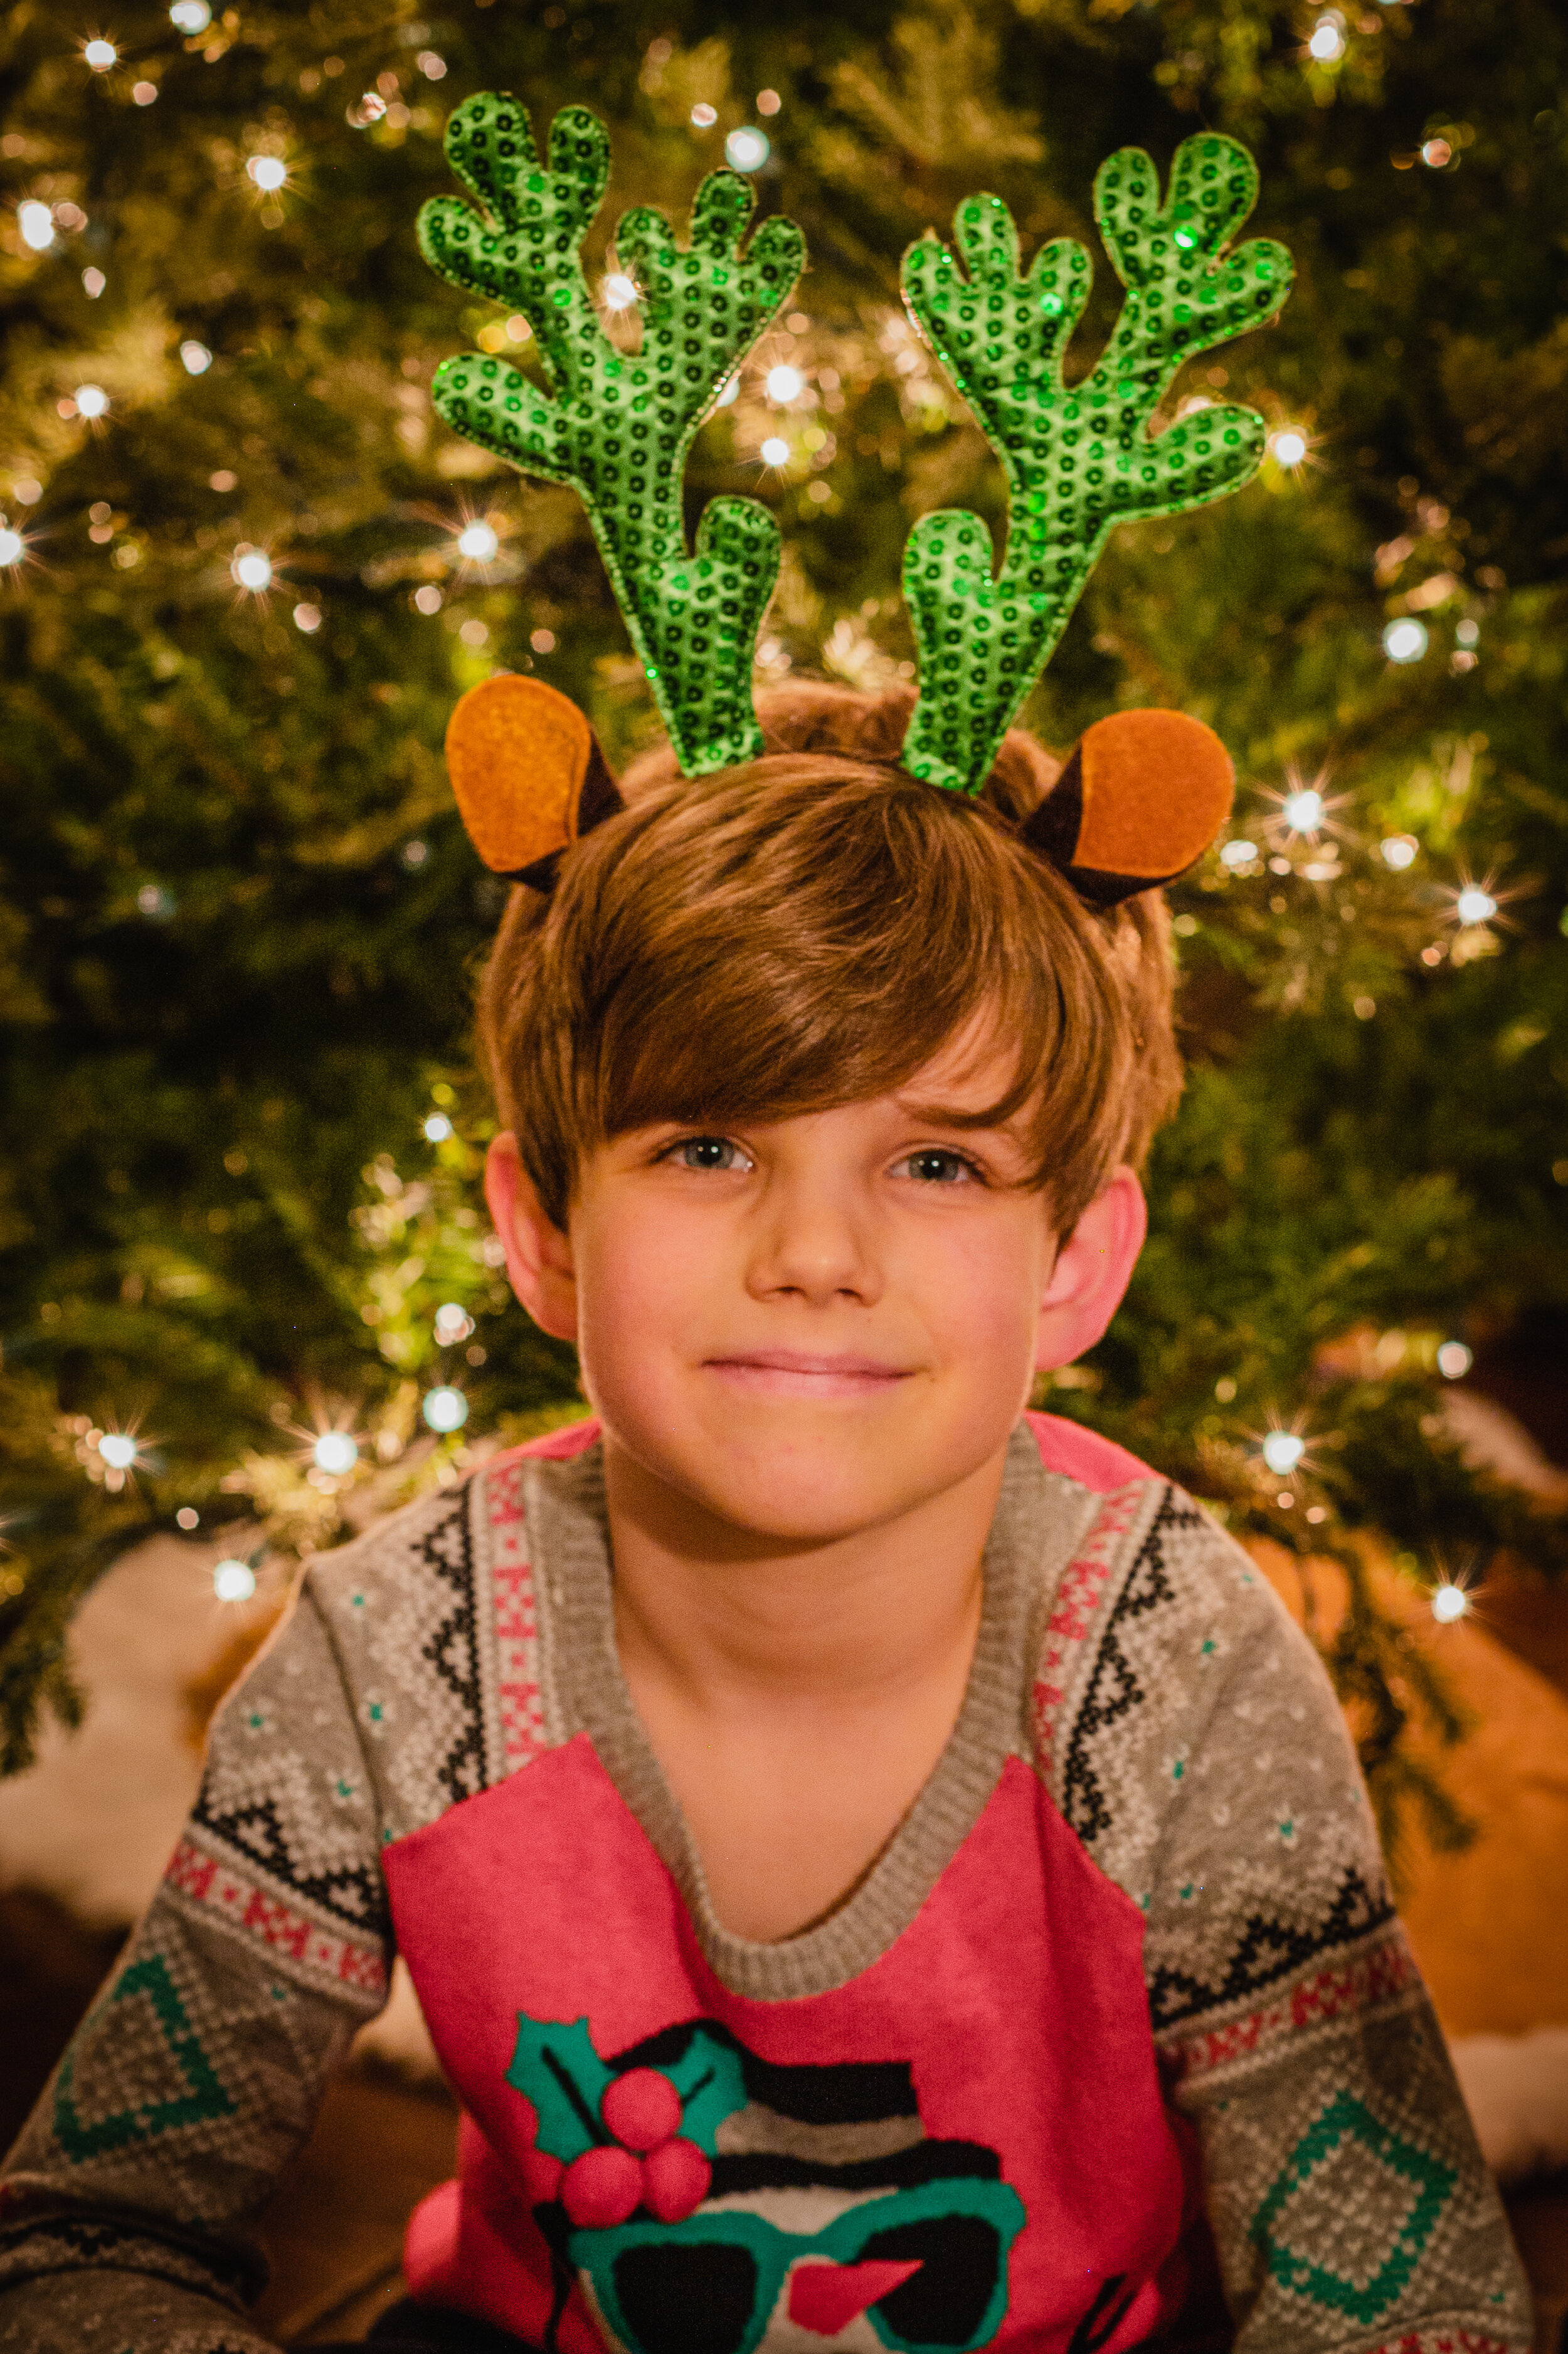
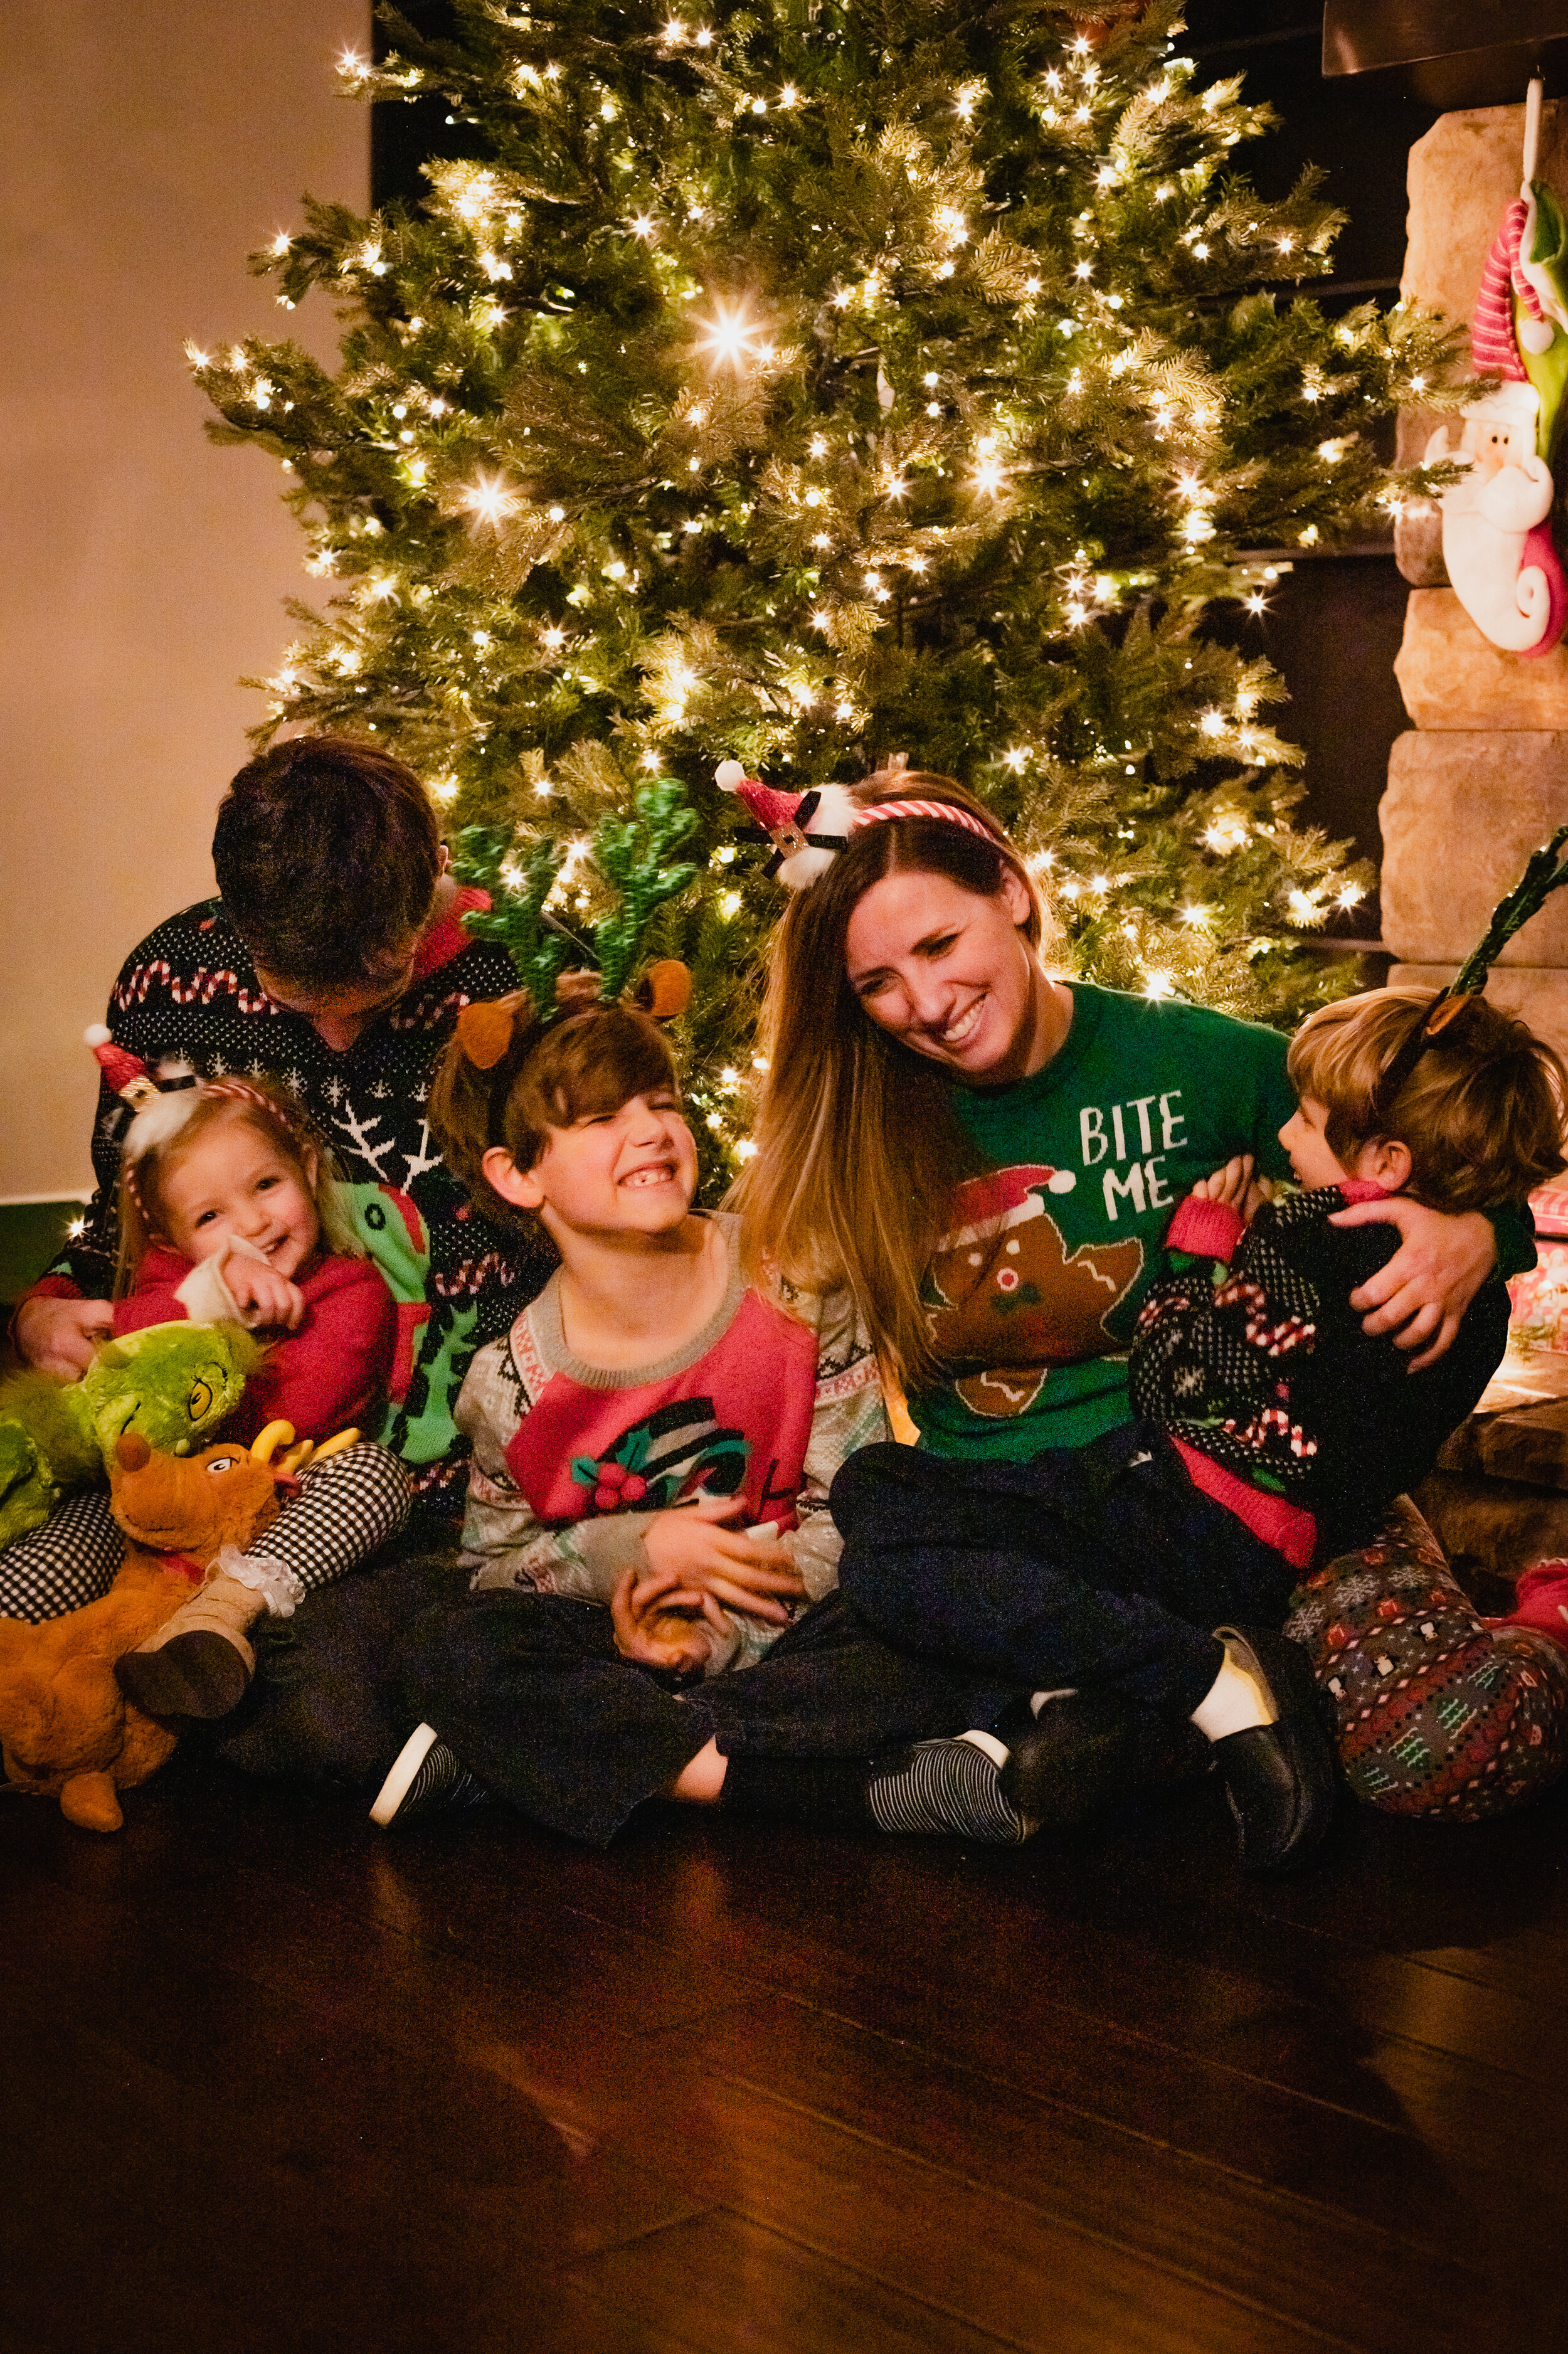
Now, for this session, things didn’t quite happen as I expected then to. I got there with enough time to take pictures by the tree and let a little light in from outside so that I wouldn’t need to use an external flash. However, like what happens often in sessions, the kids weren’t dresses yet, the baby wasn’t up from her nap, and to top it all off, the tree wasn’t even decorated. So, by the time we got everything and everyone ready, the light was long gone. *tear*
What to do, what to do…? Well, I didn’t have an external flash, so that wasn’t an option. Secondary option was to use indoor lighting (not ideal, but better than nothing!) so I found a lamp and placed it as close to my subjects as I could without getting the lamp in the shot. I turned off all other lights in the house (except the Christmas tree), put my camera in aperture priority mode, set my white balance, set up my tripod, and shot my shoot. Note: a tripod is an absolute must when shooting indoors, especially if you don’t have an external flash because all your pictures will turn out blurry due to the required slow shutter speed.
The final product? Well, I’ll be honest and say the photos didn’t turn out how I wanted, but it was better than I had hoped considering the situation! I had to do a lot of doctoring to the images in Lightroom. There were some other hurdles, like the fact that while a tripod keeps the camera steady, that doesn’t mean that your subject will stay still (especially little kids). This aspect requires master skills of distraction and timing, haha.
Suffice it to say, I won’t make the mistake of leaving my external flash behind again. That being said, you might be curious to know what I use! I’ve included a link to an article that talks about great external flash equipment that every indoor photographer should be using. I’ve purchased a few of these items and they have not disappointed!
https://strobist.blogspot.com/2006/03/lighting-101-traveling-light.html
Please let me know if you have any questions! I hope this information helped and that your first indoor photography session goes a little better than mine. 🙂