Best Camera Settings for Golden Hour Photography

If you’re like a lot of other photographers out there, you try to schedule most of your sessions during golden hour. I mean, who doesn’t want that dreamy soft light in their photos?! 🙋🏻♀️
You’ll want to make sure your camera is ready to capture the scene! So, how do you make the most out of that magical golden light? It’s not always easy to get the right camera settings. If you’re new to it, no worries, that’s why I’m here! If you already have experience but just want to pick up a few tips and tricks? I’m ya girl. This post will help you familiarize yourself with the best camera settings and gear to make the most out of the best light of the day.
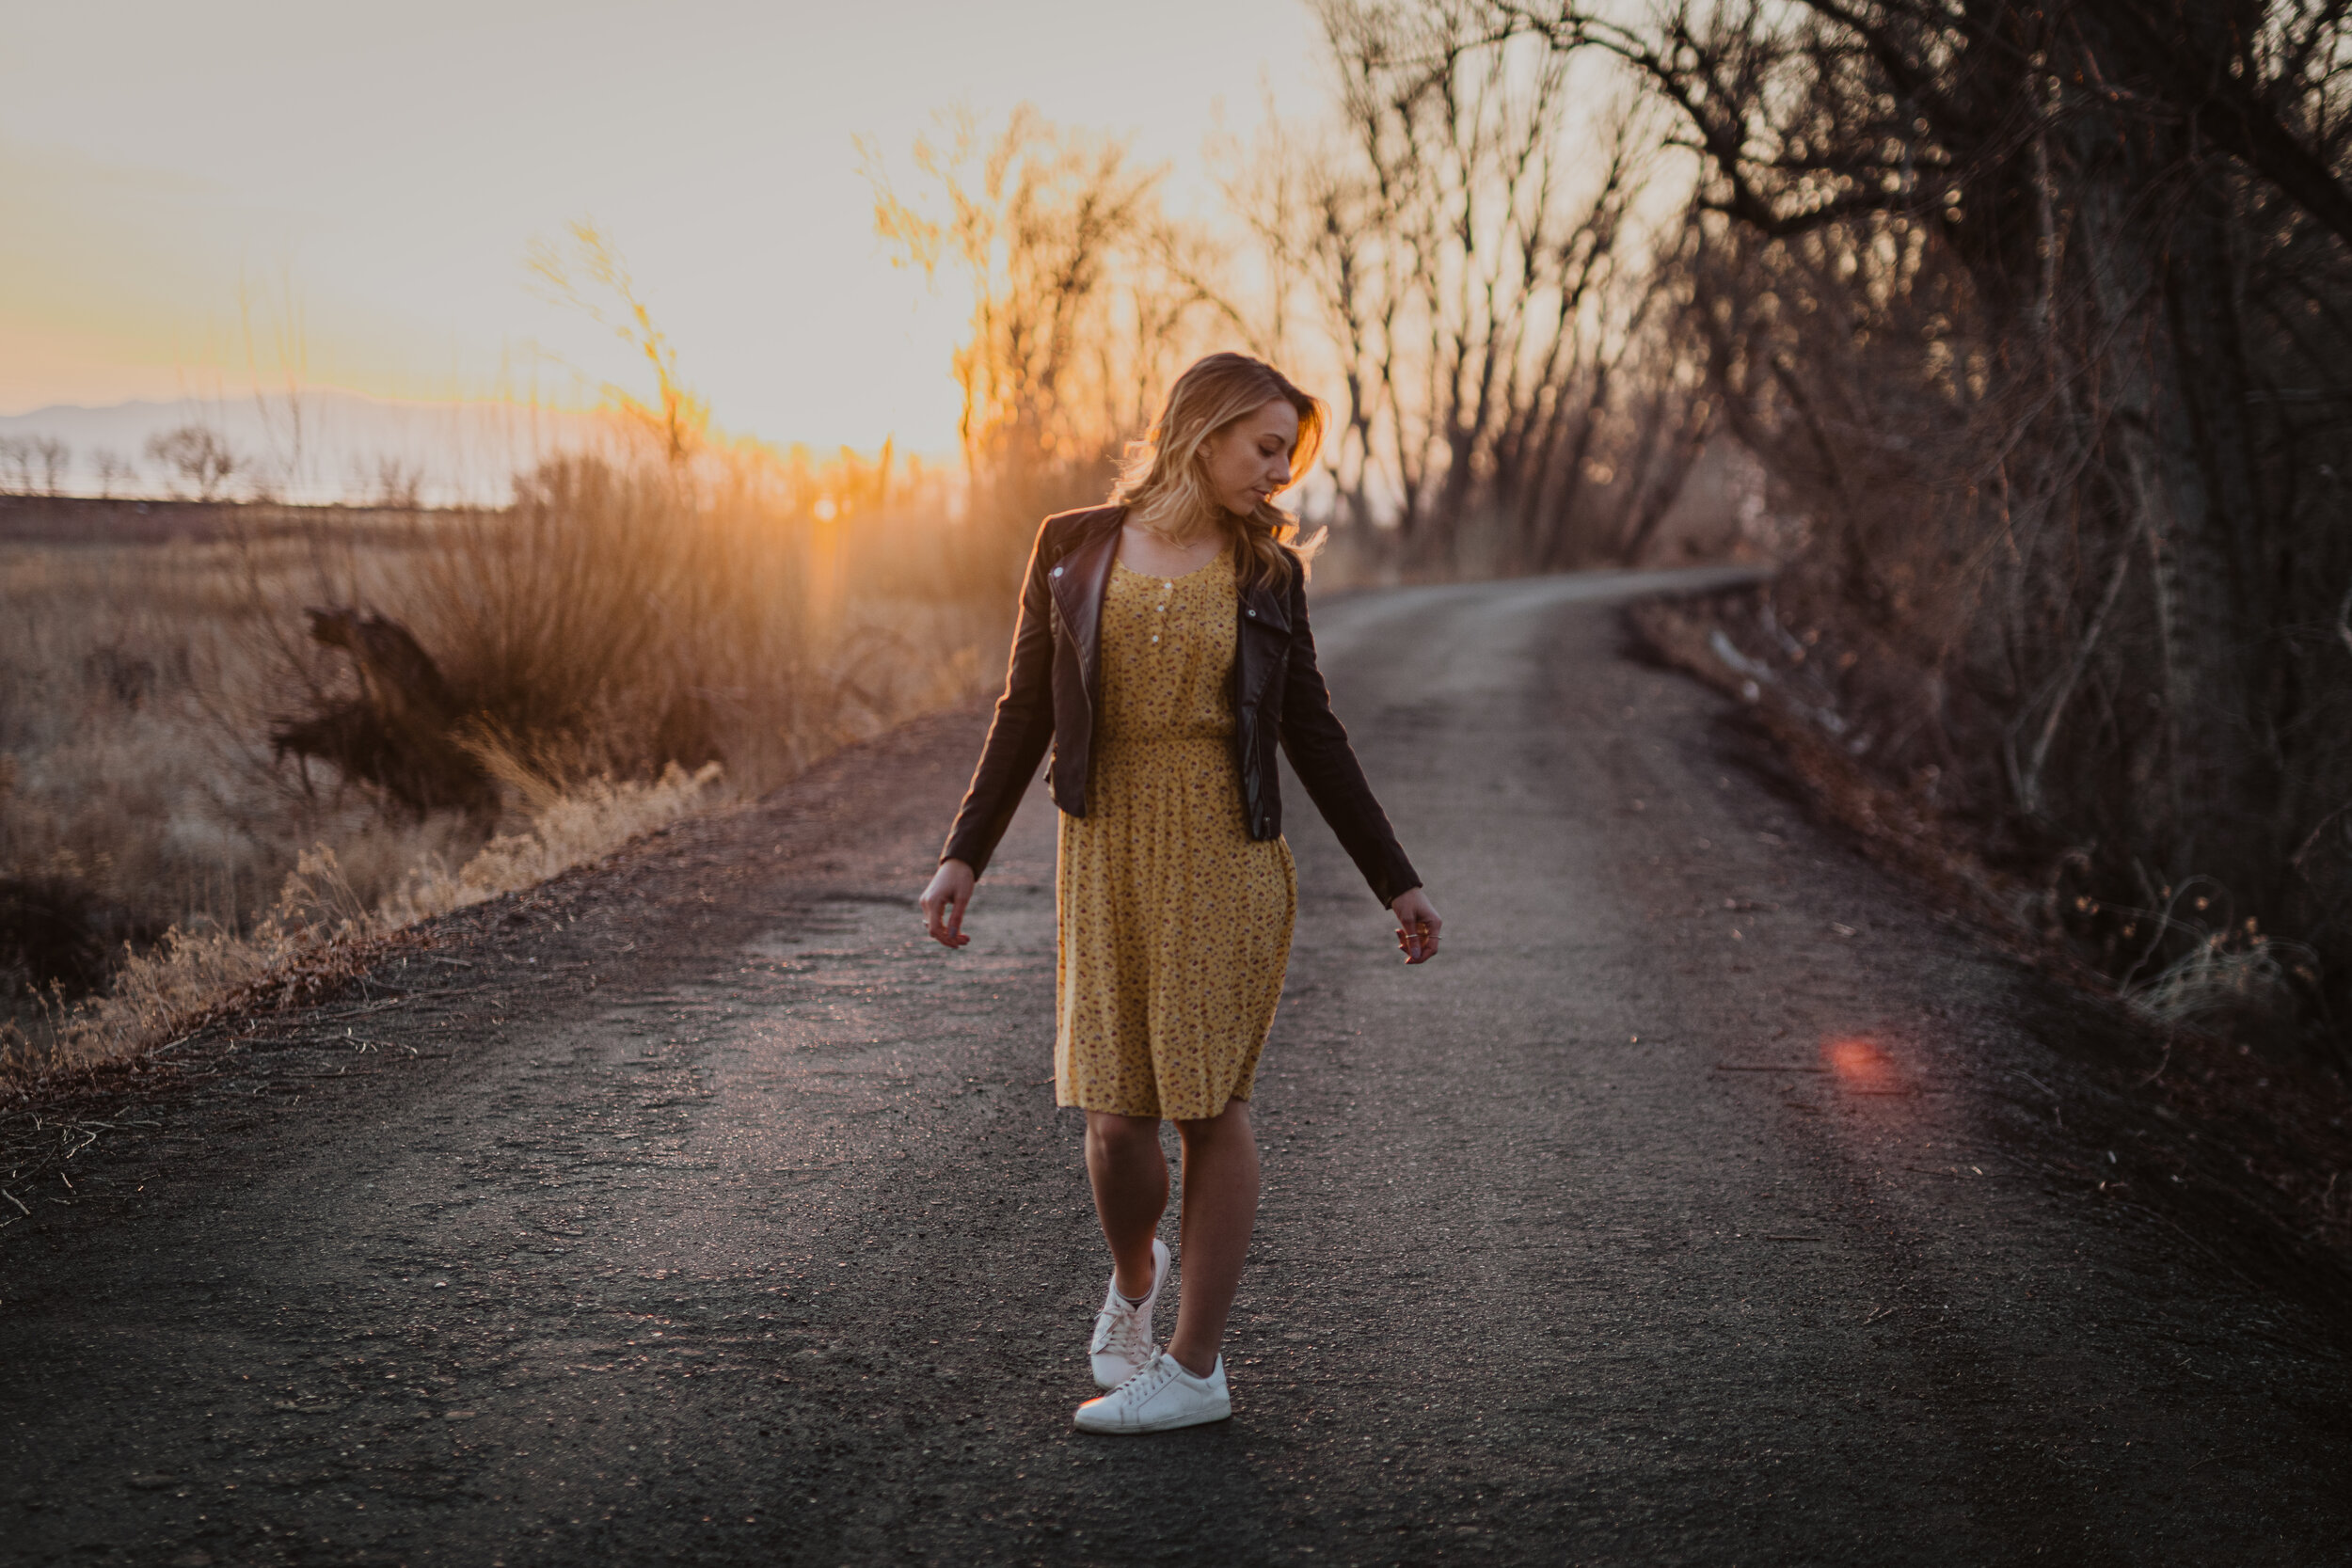
So… what IS golden hour, anyway? Golden hour refers to the hour directly after sunrise and the hour before sunset. Yep, golden hour doesn’t just happen at sunset! The reason why golden hour is so sought after is because the light is redder and softer that it is during the rest of the day when the sun is directly overhead. Noon-day sun will often cast harsh shadows, and the light is too abrasive. If it happens to be cloudy, you don’t have to worry as much about that, though. Golden hour changes throughout the year as the time the sun sets/rises changes. A quick google search will give you specific time for sun rise and sunset.
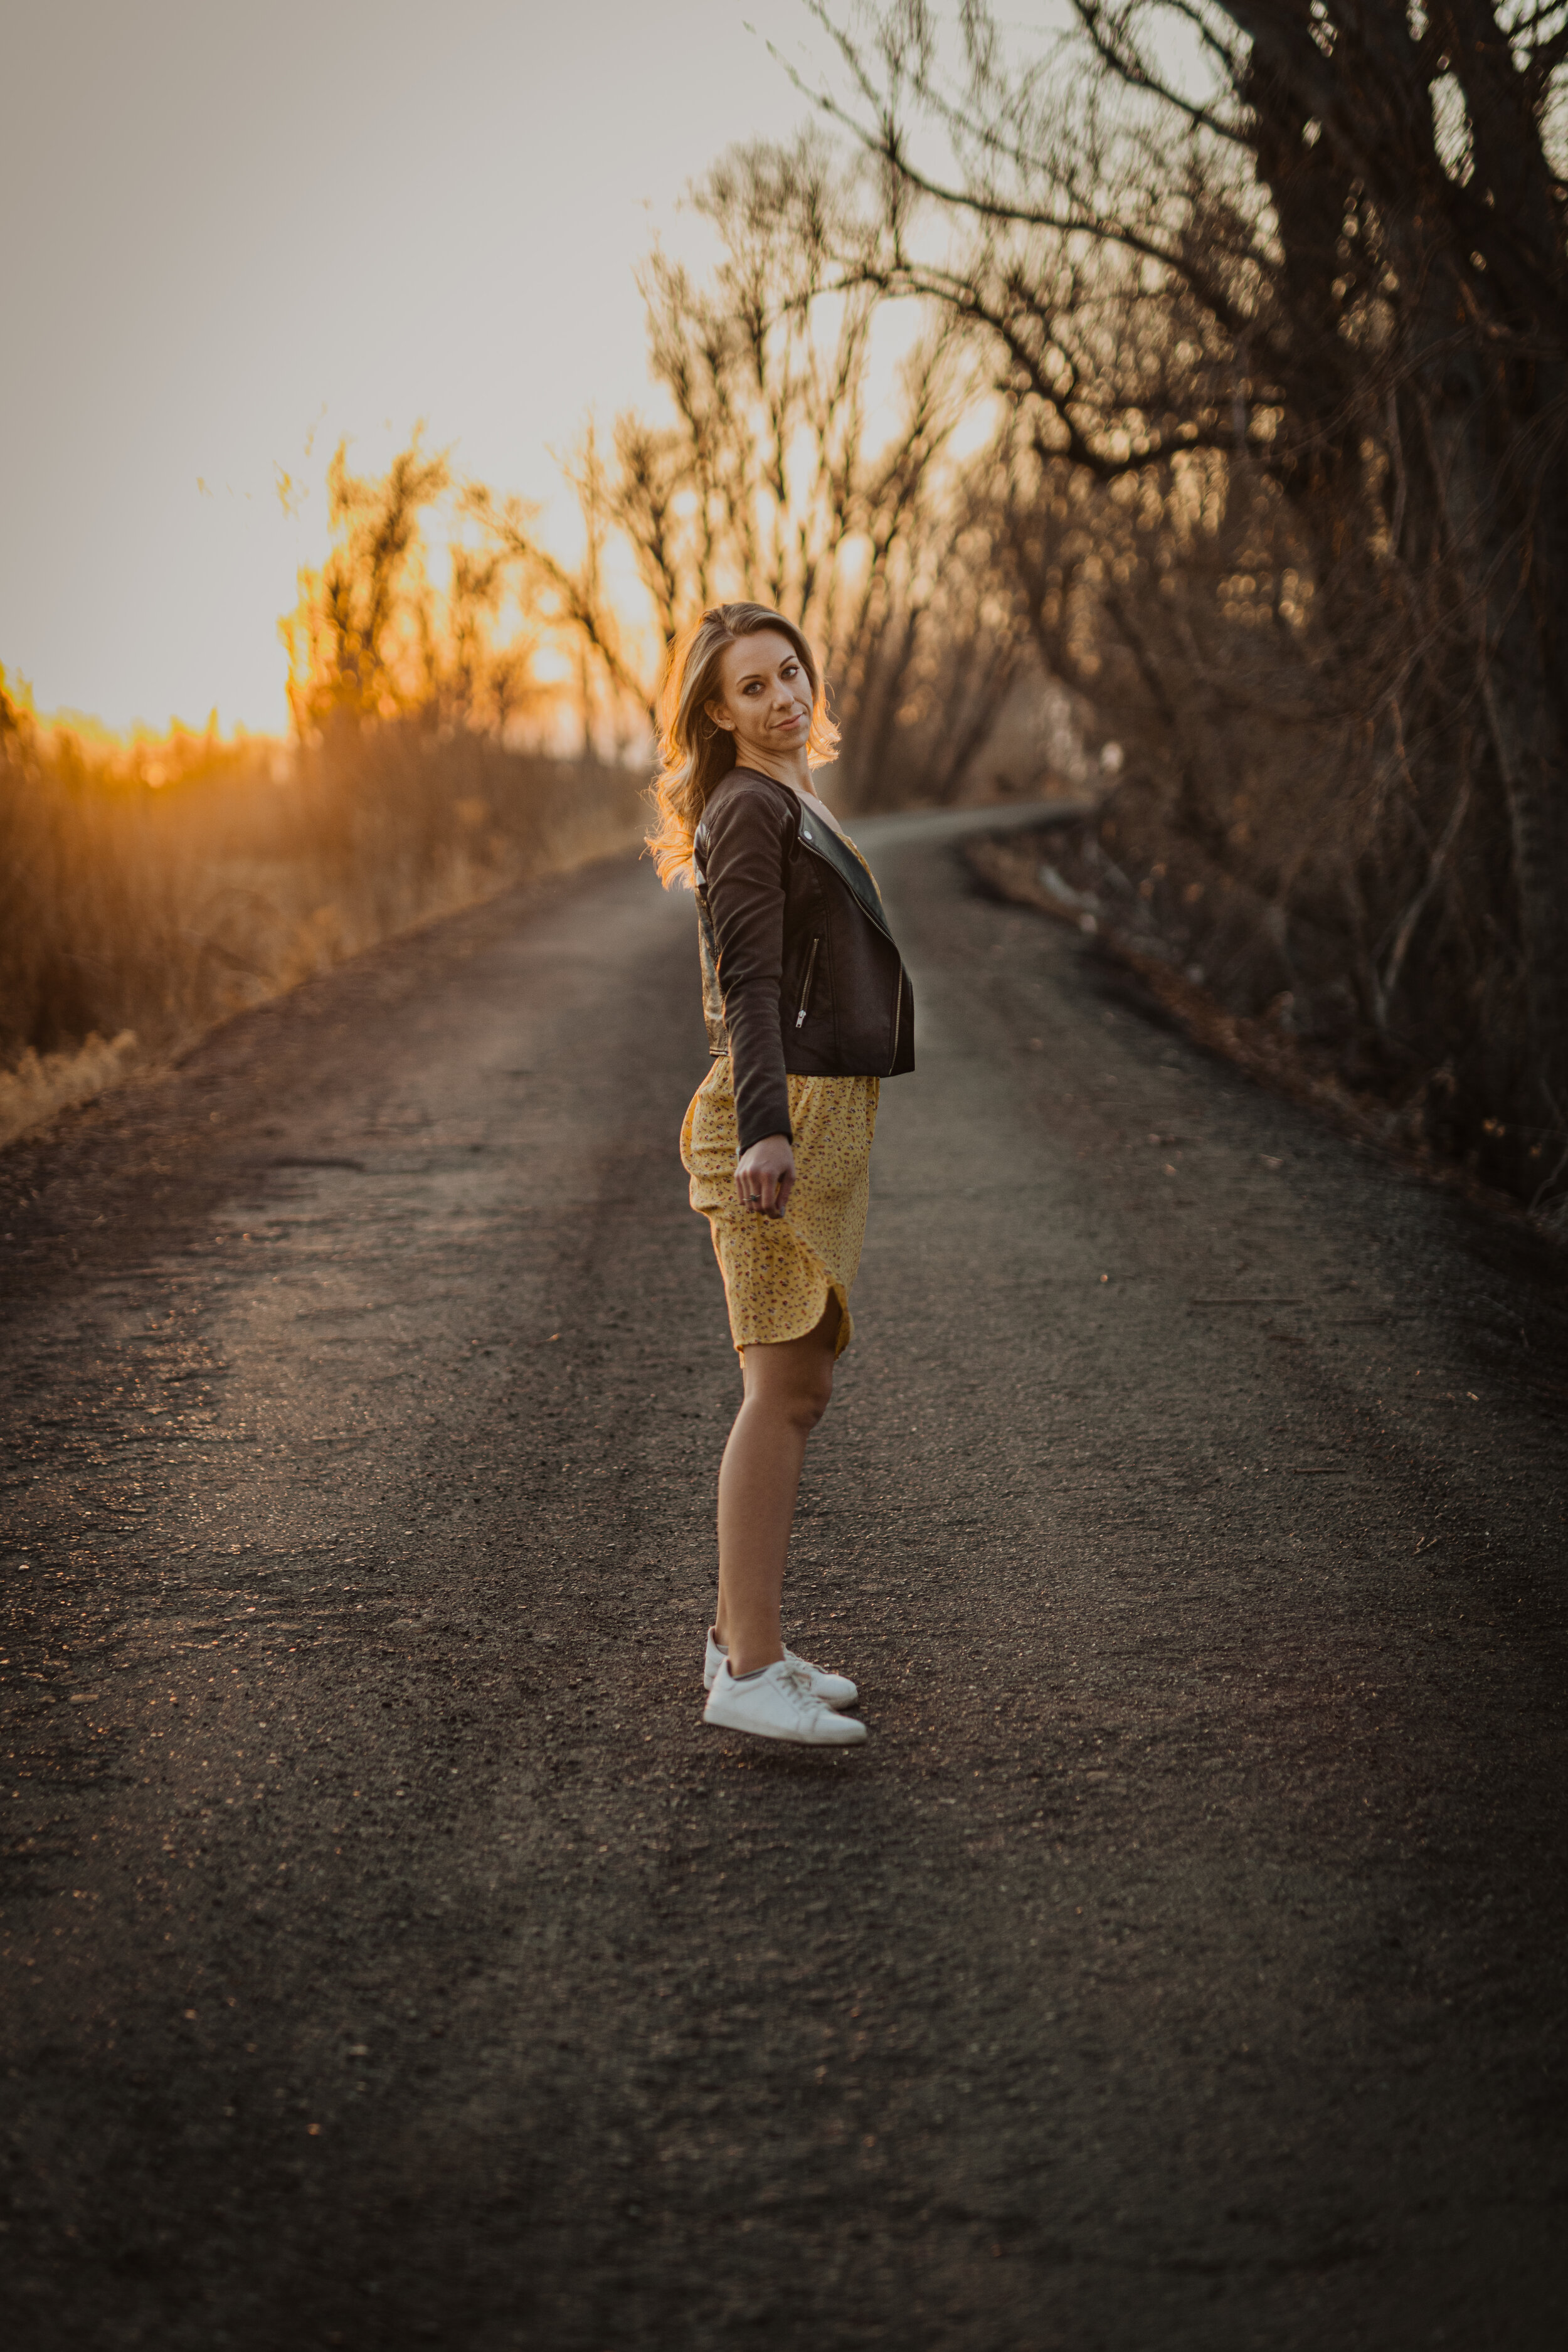
The red, soft light is going to be far more flattering than any other light, so it’s a much more ideal time to take pictures. Colors also pop out more and the shadows are longer.
If you’ve read my post on aperture, ISO, and shutter speed, then this will be easy to get the right settings for golden hour! If not, I’ve got that link for you below 👇🏻
https://madelynmargaretphotography.squarespace.com/config/pages/6021bcd7c1e1cc6421ca7d09
Aperture:
Ideally, you’re aperture will be the biggest possible (lowest number=bigger aperture). This will let in more of that soft light and will add that nice creamy bokeh to the background of your pictures. If you happen to want more of the background in focus along with the foreground, then I would keep your aperture at f/8 or higher. Landscape photography generally requires a higher f-stop like f/8-f/22.
Shutter Speed:
Once you’ve selected the optimal aperture for your subject, choose a shutter speed that will eliminate the risk of motion blur. For portraits of families or couples, I wouldn’t go below 1/250. As it gets darker, you will be tempted to slow down the shutter speed so that you can let in more light. That is fine, but know that it will be harder to avoid blurry subjects, especially if there are little kids! A slower shutter speed will often require a tripod.

ISO:
Personally, I don’t like adding a lot of ISO to my photos. It adds too much noise and grain that I find distracting. That being said, try to keep your ISO as low as possible. Anywhere from 100 to 200 ISO should work during golden hour. If you’re shooting right when the sun is rising or setting, obviously it’s going to be a lot darker than if you shoot a little later in golden hour. A higher ISO would be required during these early/late golden hour shots.
White Balance:
Ya’ll are shooting in RAW, right? Good, because shooting in RAW vs. JPEG will optimize the amount of data in the image, which is SUPER important in post-production. You’ll be able to manipulate color and light much more effectively, and the settings you add to the photo will look more realistic. Essentially, RAW images hold a lot more data so that later on, you have more to work with. That being said, you will still want to make sure you have the right white balance setting while shooting. You can always fix it in Lightroom (as long as its a RAW image) but it’s much easier to just manually adjust it to the tones that are there in front of your camera. Leaving it to “auto white balance” will often result in more blue-toned photos, which kind of defeats the purpose of shooting at golden hour.
Capturing golden hour the way you want won’t happen overnight. Like any type of photography, it takes time, experience, trial, and error to get it down. It’s always a good idea to look at golden hour photographs that you admire, and pick out reasons why it’s great. Try mimicking those techniques—you’ll find yourself creating your own as well!
Let me know if you have any other questions about golden hour photography—I’m happy to help!